
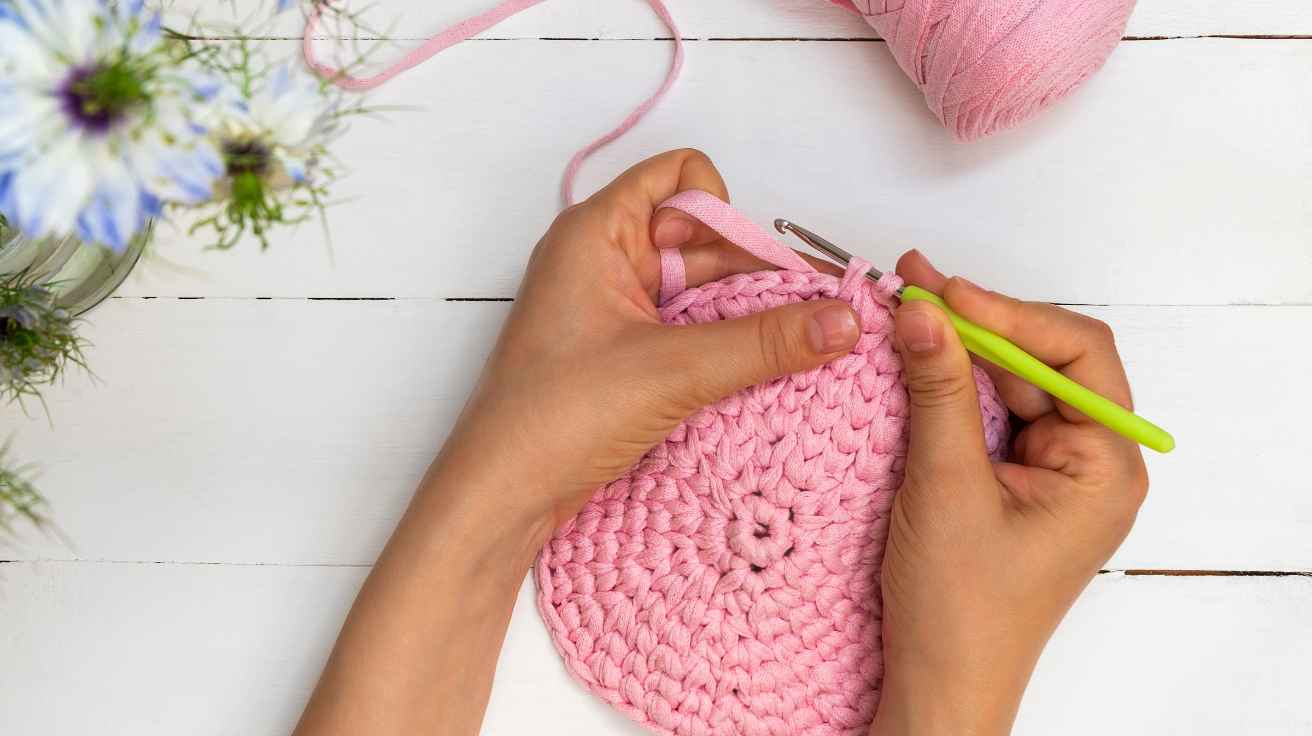
How to Crochet in the Round: Easy Beginner Guide
Learning how to crochet in the round opens the door to dozens of fun projects, from simple coasters and granny squares to hats, baskets, bags, amigurumi, and blankets. Instead of working back and forth in rows, you build your crochet piece around a central point and continue creating rounds.
At first, crocheting in the round can feel confusing. You may wonder where to insert your hook, how to join each round, whether the turning chain counts as a stitch, or why your circle starts curling.
The good news is that the basic technique is easier than it looks. In this guide, I’ll show you how to crochet in the round step by step, explain two common starting methods, show you how to count stitches, and share simple ways to fix common problems.
What Does Crochet in the Round Mean?
Crocheting in the round means creating stitches continuously around a central starting point instead of crocheting in straight rows.
You normally begin with either a magic circle or a small chain ring. You then work stitches into the center or around the ring, join the round when necessary, and continue building outward.
This technique is especially useful for projects that need a circular, cylindrical, or three-dimensional shape.
Common projects include:
- Crochet hats
- Coasters
- Baskets
- Crochet flowers
- Amigurumi
- Bags
- Mandalas
- Round blankets
- Placemats
- Crochet balls
- Granny-style motifs
One important thing to remember is that there are two common ways to crochet in the round: joined rounds and continuous rounds.
Joined rounds usually end with a slip stitch before starting the next round. Continuous rounds spiral forward without joining each round.
How to Crochet in the Round Step by Step
If you’re learning how to crochet in the round for the first time, start with a small circle. A basic single crochet circle is one of the easiest ways to understand the technique.
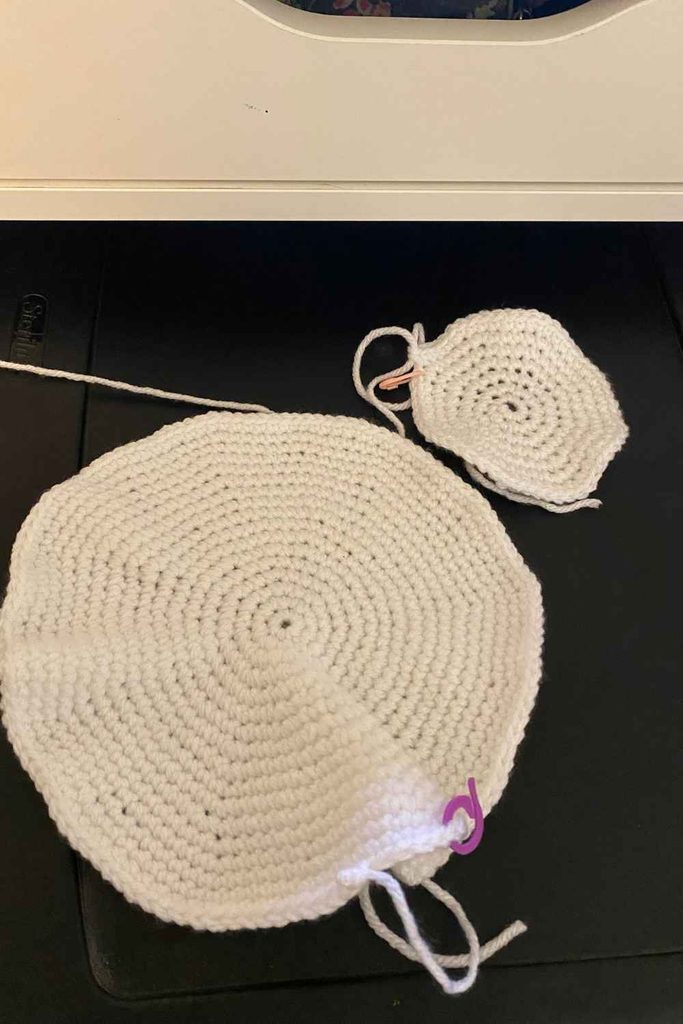
Step 1: Gather Your Crochet Supplies
You only need a few basic supplies:
- Crochet hook
- Medium-weight yarn
- Scissors
- Yarn needle
- Stitch marker
For beginners, a smooth, medium-weight yarn is easier to work with than very thin or fluffy yarn.
Choose a hook size recommended on your yarn label. A lighter-colored yarn can also make individual stitches easier to see.
Step 2: Make a Starting Ring
There are two beginner-friendly ways to start crocheting in the round.
Method 1: Magic Circle
A magic circle, also called a magic ring, creates an adjustable loop that can be pulled tightly closed.
This is particularly useful for amigurumi, hats, flowers, and other projects where you don’t want a noticeable hole in the center.
Make the loop, insert your hook through it, secure the yarn, and then work your required stitches into the ring.
Once the stitches are complete, pull the yarn tail to close the center.
Method 2: Chain Ring
If the magic circle feels difficult, don’t worry. You can make a small chain ring instead.
For example:
- Make 4 or 5 chain stitches.
- Insert your hook into the first chain.
- Make a slip stitch to join the chain into a ring.
- Work your first round into the center of the ring.
This method is simple and reliable, although it can leave a slightly larger center hole.
Step 3: Work the First Round
For a simple single crochet circle, begin with your chosen starting ring.
Work several single crochet stitches into the center.
A common beginner example is:
- Make a magic circle.
- Chain 1.
- Work 6 single crochet stitches into the ring.
- Pull the magic ring closed.
You should now have a small circle.
The exact number of starting stitches can change depending on the pattern and stitch being used, so always follow the pattern instructions when you’re making a specific project.
Step 4: Join the Round
If your pattern uses joined rounds, you usually finish the round with a slip stitch.
Insert your hook into the appropriate stitch, yarn over, and pull the yarn through the stitch and the loop on your hook.
This closes the round.
Some patterns use a chain at the beginning of each round. Whether that chain counts as a stitch depends on the pattern instructions.
Step 5: Start the Next Round
Once your first round is complete, begin the next round according to the pattern.
With single crochet, a common increase pattern is to place two single crochet stitches into each stitch during the second round.
For example:
- Round 1: 6 stitches
- Round 2: 12 stitches
- Round 3: 18 stitches
- Round 4: 24 stitches
This steady increase helps the circle grow flat.
Step 6: Keep Track of Your Stitches
Stitch counting becomes especially important when crocheting in the round.
If your pattern says you should have 18 stitches at the end of a round, count your stitches before beginning the next round.
A stitch marker can make this much easier.
Place the marker into the first stitch of the round. When you reach it again, you know you’ve completed the round.
How to Crochet in the Round Without Joining
Not every crochet project requires you to join each round.
In continuous rounds, you simply keep working into the next stitch without making a slip stitch at the end of each round.
This creates a spiral.
Continuous rounds are common in amigurumi because they help avoid the visible seam that can appear with joined rounds.
How Continuous Rounds Work
Suppose your pattern says:
6 sc into a magic ring.
After completing those six stitches, you do not slip stitch to close the round.
Instead, place a stitch marker in the first stitch and immediately work the next stitch into the following stitch.
When you reach the marker again, you’ve completed one round.
Move the marker to the new first stitch and continue.
This method may feel strange at first, but it becomes much easier after a few rounds.
Joined Rounds vs. Continuous Rounds
Choosing between joined and continuous rounds depends on the project.
| Feature | Joined Rounds | Continuous Rounds |
|---|---|---|
| Round ending | Slip stitch | No joining |
| Appearance | More defined rounds | Spiral appearance |
| Seam | Usually visible | Usually less noticeable |
| Stitch counting | Easier for some beginners | Requires careful tracking |
| Common uses | Hats, motifs, blankets | Amigurumi, stuffed toys |
| Stitch marker | Helpful | Very helpful |
Neither method is automatically better. The pattern should tell you which method to use.
How to Increase When Crocheting in the Round
Increasing means adding stitches so your circle becomes larger.
A basic single crochet increase means working two single crochet stitches into the same stitch.
For example, if you have 6 stitches:
Round 1
6 single crochet stitches.
Round 2
Work 2 single crochet stitches into every stitch.
6 × 2 = 12 stitches.
Round 3
Work:
- 1 single crochet
- 2 single crochet in the next stitch
Repeat around.
This gives you 18 stitches.
Round 4
Work:
- 1 single crochet
- 1 single crochet
- 2 single crochet in the next stitch
Repeat around.
You now have 24 stitches.
The general idea is simple: increase at regular intervals to add stitches around the circle.
How Many Stitches Should You Have in Each Round?
The stitch count depends on the crochet stitch and pattern.
For a basic single crochet circle that begins with 6 stitches, you will often add 6 stitches per round:
| Round | Example Stitch Count |
|---|---|
| 1 | 6 |
| 2 | 12 |
| 3 | 18 |
| 4 | 24 |
| 5 | 30 |
| 6 | 36 |
This is a useful starting guideline, not a universal rule.
Different stitches naturally require different increase rates. For example, a double crochet circle generally needs more stitches added per round than a single crochet circle to remain flat.
Why Is My Crochet Circle Curling?
A curling circle usually means the piece isn’t getting enough stitches added around the edge.
When you don’t make enough increases, the fabric can begin forming a bowl shape.
Try adding more evenly spaced increases.
On the other hand, if your circle becomes wavy or ruffled, you may be adding too many stitches.
A flat crochet circle needs the right balance between stitch count, yarn tension, hook size, and increase placement.
A Quick Troubleshooting Guide
| Problem | Possible Cause | What to Try |
|---|---|---|
| Circle curls upward | Too few increases | Add increases |
| Circle looks wavy | Too many increases | Reduce increases |
| Large center hole | Ring not tightened | Pull magic ring firmly |
| Uneven edges | Inconsistent tension | Relax your grip |
| Stitch count is wrong | Missed or added stitches | Count every round |
| Visible seam | Joined rounds | Try continuous rounds |
How to Keep Crochet Rounds Straight
One of the most useful beginner habits is marking the first stitch of every round.
Without a marker, it is surprisingly easy to lose your starting point.
For continuous rounds, move your stitch marker every time you begin a new round.
For joined rounds, use the pattern’s joining instructions carefully and pay attention to whether the starting chain counts as a stitch.
Another helpful trick is to write down your stitch count after each round. This takes only a few seconds and can save you from discovering a mistake several rounds later.
What Is the Best Stitch for Beginners?
Single crochet is usually one of the easiest stitches for learning how to crochet in the round.
It creates a firm fabric and makes individual stitches relatively easy to see.
Once you’re comfortable with single crochet, you can experiment with:
- Half double crochet
- Double crochet
- Slip stitch rounds
- Granny-style rounds
- Puff stitch circles
- Decorative mandalas
Starting with one basic stitch lets you understand the structure of a round before adding more complicated stitch patterns.
How to Crochet a Flat Circle
If your goal is to make a flat circle rather than a bowl or sphere, consistent increases are essential.
Start with the number of stitches recommended for your chosen stitch. Then increase at regular intervals according to your pattern.
Keep your tension consistent and check the shape after every few rounds.
Here’s the key insight many beginners miss:
Don’t judge your stitch count only by the number of stitches. Look at the shape of the fabric too.
If your stitch count is technically correct but the circle is cupping or ruffling, your tension, yarn, hook, or increase placement may need adjustment.
This simple shape check can help you catch problems much earlier.
Common Mistakes When Crocheting in the Round
Forgetting the First Stitch
It’s easy to accidentally skip the first stitch after joining a round.
Use a stitch marker and count your stitches regularly.
Counting the Turning Chain Incorrectly
Some patterns count the beginning chain as a stitch while others don’t.
Never assume. Check the pattern notes before counting.
Adding Random Increases
Random increases can make the circle uneven.
Follow the specified increase sequence instead.
Losing the Round Marker
If you’re working in continuous rounds, losing the marker can make it difficult to know where a round begins.
Use a bright stitch marker that is easy to spot.
Pulling the Yarn Too Tightly
Tight tension can make it difficult to insert your hook into stitches.
Try holding the yarn and hook more loosely. Smooth, even movements usually produce more consistent stitches.
How to Crochet in the Round for Beginners: A Simple Practice Project
A small coaster is an excellent practice project because it lets you practice several important skills without requiring a lot of yarn.
Try this basic exercise:
- Make a magic circle.
- Work 6 single crochet stitches into the ring.
- Close the center.
- Begin the next round.
- Increase evenly around the circle.
- Count your stitches.
- Continue until the circle reaches your desired size.
- Finish and weave in the ends.
Don’t worry if your first circle isn’t perfectly flat. Your goal is to become comfortable identifying stitches, placing increases, and recognizing the beginning of each round.
Frequently Asked Questions
Can you crochet in the round with any stitch?
Yes. You can crochet in the round using single crochet, half double crochet, double crochet, and many decorative stitches. However, each stitch may require a different increase pattern to keep the fabric flat.
Is crocheting in the round difficult for beginners?
No. The basic technique is beginner-friendly once you understand where the first stitch goes and how to count rounds. Starting with a small single crochet circle is a good way to practice.
Do you turn your work when crocheting in the round?
Usually, no. Many patterns have you continue working around the piece in the same direction. However, some patterns specifically instruct you to turn after each round.
Why does my crochet circle look like a bowl?
A crochet circle can cup when there are not enough increases. Try checking your stitch count and comparing it with the pattern. Yarn tension and hook size can also affect the shape.
What is the difference between a magic circle and a chain ring?
A magic circle creates an adjustable center that can usually be pulled tightly closed. A chain ring is made by joining chain stitches into a loop and generally leaves a more defined opening in the center.
2 Comments