Crochet Plant Hanger Tutorial: Easy Step-by-Step Guide
Want to bring more greenery into your home without taking up valuable shelf or table space? This crochet plant hanger tutorial will help you make a beautiful handmade holder for your favorite potted plant. It is an affordable, beginner-friendly project that adds a cozy, natural touch to living rooms, bedrooms, balconies, and covered patios.
You don’t need advanced crochet skills or expensive supplies to get started. With cotton yarn, a suitable crochet hook, and a few basic stitches, you can create a hanging planter that matches your home decor.
In this guide, you’ll learn how to choose the right materials, crochet the main section, create a secure bottom, and finish your plant hanger. You’ll also discover ways to customize its length, color, and design.
What Is a Crochet Plant Hanger?
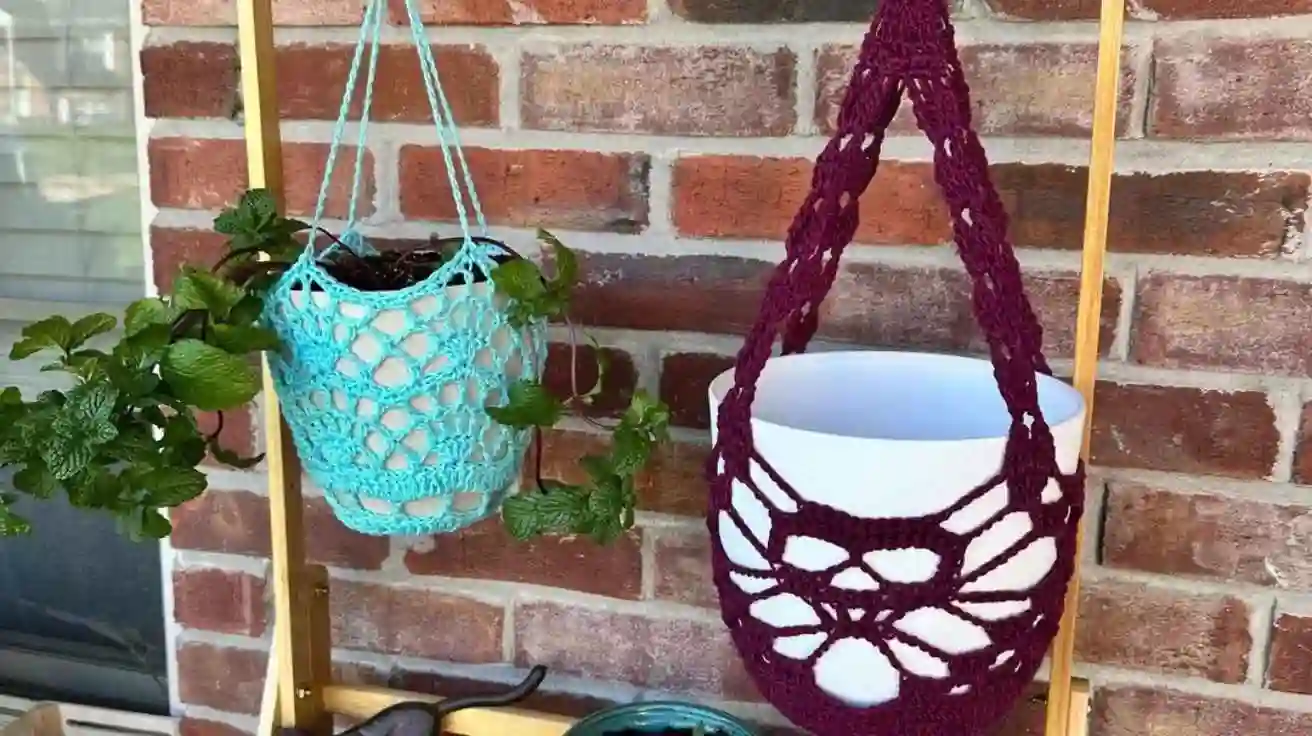
A crochet plant hanger is a handmade holder made with yarn or cord that supports a plant pot while allowing it to hang from a suitable hook or stand. Depending on the design, it can feature simple crochet stitches, decorative knots, open mesh, or a combination of textures.
Unlike traditional macrame hangers, which are usually made by tying cords together, crochet plant hangers use a crochet hook to create connected loops and stitches. Some designs combine both techniques for a unique handmade look.
You can make a small hanger for a lightweight nursery pot or a longer design for a trailing plant. The best part is that you can adjust the colors, length, and stitch pattern to suit your space.
Why Make a Crochet Plant Hanger?
A DIY crochet plant hanger offers more than a decorative way to display your greenery. It can help you make better use of small spaces while adding a personal touch to your home.
Here are a few reasons to try this project:
- Save space: Hang plants above tables, beside windows, or in unused corners.
- Customize your decor: Choose colors that match your furniture, curtains, and other accessories.
- Create an affordable craft: Use leftover yarn or buy a single skein for a small project.
- Make thoughtful gifts: Handmade plant hangers work well as gifts for housewarmings, birthdays, and plant lovers.
- Practice crochet skills: Learn chain stitches, single crochet, and simple shaping techniques.
A particularly useful advantage is that you can make several hangers in matching colors to create a coordinated indoor garden.
Materials You’ll Need for This Crochet Plant Hanger Tutorial
Before you begin, gather your supplies. Choosing sturdy materials will make your hanger easier to work with and help it hold its shape.

Essential supplies
- Cotton yarn or cord: Choose a strong, smooth yarn that is comfortable to handle. Medium-weight cotton is a practical starting point.
- Crochet hook: Use the hook size recommended on your yarn label, adjusting it if necessary to create firm stitches.
- Scissors: For cutting yarn and trimming loose ends.
- Measuring tape: To measure your pot and the desired hanging length.
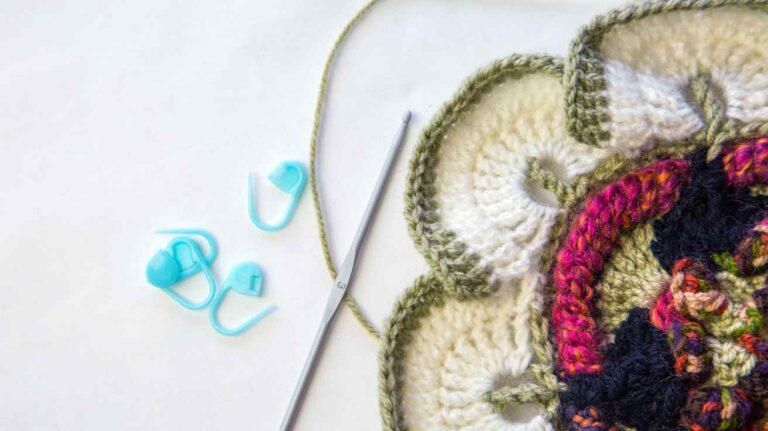
- Stitch marker: Optional, but helpful when working in rounds.
- Plant pot: A lightweight pot is easiest for your first project.
- Wooden ring: Optional for a decorative top attachment.
- Tapestry needle: For weaving in loose yarn ends.
You may also want a small saucer or a waterproof liner to protect the area beneath your plant.
Which yarn is best for a crochet plant hanger?
Cotton yarn is a good starting choice because it is easy to handle, has a natural appearance, and is available in many colors. A firm cotton cord can also work well for a minimalist or boho-inspired design.
Avoid relying on delicate, stretchy, or fuzzy yarn for a hanger that needs to support a pot. The strength of the finished piece depends on the yarn, stitch structure, construction, and attachment points.
Important: Crochet is not automatically load-bearing just because it looks thick. Test your finished hanger with a lightweight, nonbreakable container before using it with a plant. For heavier pots, use a properly rated commercial support system.
Basic Crochet Stitches You’ll Use
This beginner crochet plant hanger uses simple stitches that are easy to practice before you begin.
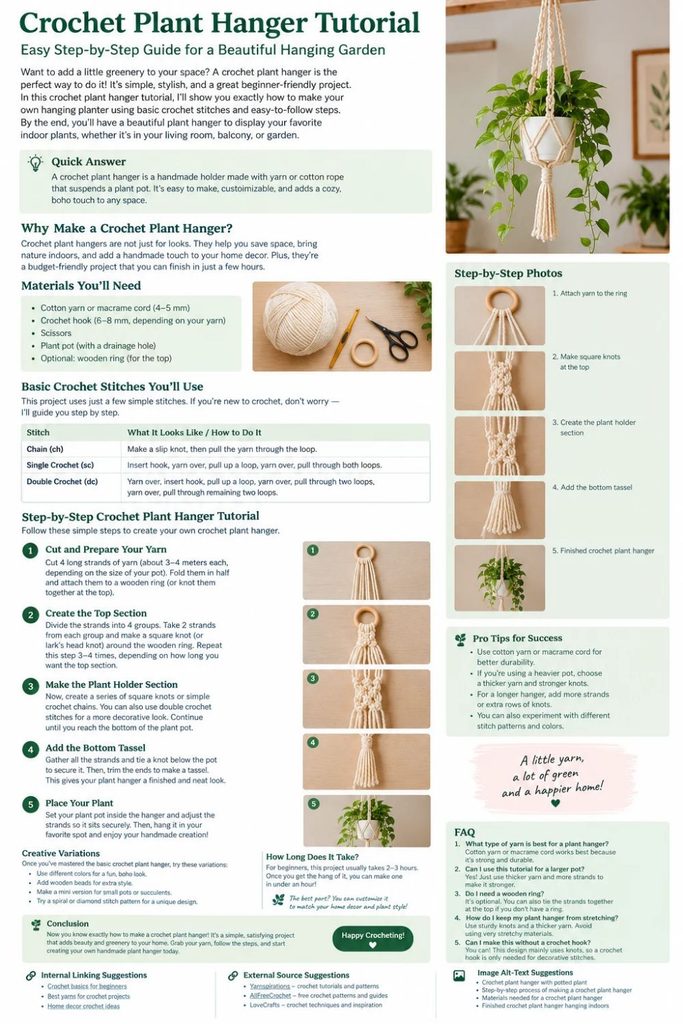
| Stitch | Abbreviation | How it works |
|---|---|---|
| Chain stitch | ch | Creates a foundation chain or open spaces. |
| Single crochet | sc | Makes a compact, firm fabric. |
| Slip stitch | sl st | Joins stitches or rounds neatly. |
| Double crochet | dc | Creates a taller stitch with a more open texture. |
You don’t need to master every stitch before starting. Chain stitches and single crochet are enough for a simple design, while double crochet can help you create a decorative mesh pattern.
Crochet Plant Hanger Tutorial: Step-by-Step Instructions

This simple design uses a crocheted basket-style section, several supporting strands, and a top loop. The exact number of stitches will depend on your pot size and yarn thickness, so use the measurements below as a starting point rather than a fixed pattern for every container.
Step 1: Measure your plant pot and prepare the yarn

Start by measuring the pot’s widest circumference and its height. These measurements help you decide how wide the crocheted holder should be and how long the supporting strands need to hang.
For a first project, choose a small, lightweight pot with a stable shape. Prepare your yarn, crochet hook, scissors, and measuring tape before you begin.
Make a small crochet swatch if you’re unsure about your tension. This helps you see how tightly the stitches sit together and whether the fabric stretches too much.
Beginner tip: Keep your stitches consistent. Very loose stitches may stretch under the pot’s weight, while extremely tight stitches can make the project difficult to work.
Step 2: Crochet the base of the plant hanger

The base supports the bottom of your pot, so aim for a firm, even fabric.
- Make a slip knot and crochet four chain stitches.
- Join the chain into a ring with a slip stitch.
- Work single crochet stitches into the ring.
- Continue in rounds, increasing stitches evenly to expand the circle.
- Compare the base with the bottom of your pot as you work.
The base should be wide enough to support the pot without being so large that it folds or sags around the edges. The number of increases will depend on your yarn and the diameter of your container.
If you prefer a flatter, simpler design, you can crochet a small rectangle or square instead. Just make sure the finished base provides stable support for the container.
Step 3: Build the sides of the holder

Once the base is the right size, begin building the sides.
- Work one round through the back loop only, if you want a clear corner between the base and sides.
- Continue with single crochet stitches around the circle.
- Work additional rounds until the holder reaches the desired height.
- Check the fit by placing the empty pot inside the crochet basket.
For a decorative look, you can alternate rows of single crochet with rows of chain spaces. These open sections add texture and create places where the supporting strands can connect.
Keep the bottom compact and the upper edge even. If the basket becomes too loose, try a smaller hook or firmer tension.
Step 4: Create the supporting strands

The supporting strands connect the crocheted basket to the hanging loop. They need to be evenly spaced so the pot sits level.
- Make four strands of similar length using chains or firm crocheted cords.
- Attach each strand securely at four evenly spaced points around the basket’s upper edge.
- Check that the strands have equal lengths.
- Bring the strands together above the pot.
- Join them into a strong, tidy top section.
For a more decorative design, add simple knots between the strands or crochet a few connecting chain loops to form a net pattern.
Avoid attaching all the strands to one weak point. Distributing them around the basket helps balance the container, although it does not replace testing the yarn and construction for the intended load.
Step 5: Make the top loop and finish the hanger

Gather the upper ends of the supporting strands and attach them to a sturdy wooden ring or a carefully constructed crochet loop.
If you use a wooden ring, make sure it is suitable for the intended load and that the strands are securely attached. If you crochet the loop, work several firm stitches and secure the yarn ends thoroughly.
Trim any excess yarn only after you have secured the ends. Use a tapestry needle to weave loose ends into the fabric.
Before adding a plant, inspect every connection point. Gently pull each strand and check for loose stitches, uneven lengths, or weak joins.
Step 6: Add your plant and check the balance

Place your lightweight pot inside the holder and adjust the strands so the pot sits upright. Check that the base supports the pot evenly and that the upper loop hangs straight.
Test the hanger close to the floor over a soft surface before suspending it higher. Watch for stretching, slipping, or changes in the basket’s shape.
Choose a mounting point designed to support the combined weight of the hanger, pot, soil, water, and plant. Never assume that a ceiling hook, curtain rod, or wall fitting is strong enough without checking its rating and installation.
When everything looks secure, display your finished crochet plant hanger in a suitable location with enough light for your plant.
How to Customize Your Crochet Plant Hanger
Once you understand the basic construction, you can create several different looks without learning a completely new pattern.

Choose colors that match your decor
Natural cream, beige, and white suit minimalist and Scandinavian interiors. Sage green adds a soft botanical touch, while terracotta, mustard, and rust create a warmer boho look.
You can also combine two colors. Try a neutral basket with colored supporting strands or alternate colors in the body of the holder.
Experiment with different stitch patterns
- Simple single crochet: Creates a compact, understated design.
- Open mesh: Uses chains and taller stitches for a lighter appearance.
- Textured stitches: Add visual interest without changing the basic structure.
- Striped rows: Introduce color while keeping the overall design simple.
Remember that decorative holes and looser stitches may affect how well the holder contains and supports a pot. Test the construction before use.
Adjust the length
Measure the distance from your planned mounting point to the top of the plant. Leave enough space for the foliage to grow without blocking a walkway or brushing against furniture.
A shorter hanger works well beside a window, while a longer one can draw attention to trailing plants. Make sure the finished length does not place the pot where it could be bumped accidentally.
Pro Tips for a Stronger, Neater Plant Hanger
Small adjustments during construction can make your finished project look much better.
- Use consistent tension: Even stitches create a more balanced basket.
- Measure before joining: Compare the base and sides with your actual pot.
- Reinforce connection points: Secure the supporting strands carefully and inspect the joins.
- Choose a lightweight container: This reduces the load on the crochet fabric.
- Keep water away from the yarn: Use a saucer or liner to reduce moisture damage and staining.
- Test before hanging high: Check the complete assembly near the floor first.
- Inspect regularly: Look for fraying, stretched stitches, damaged rings, and loose mounting hardware.
A useful trick: Test the hanger with the actual pot shape
A pot’s shape matters almost as much as its weight. A narrow, tapered pot may slip through an open holder more easily than a pot with a wider rim.
Before finishing your project, place the empty pot inside and gently check whether the basket cradles it securely. If the pot slides, make the basket deeper or adjust the openings around the sides.
This simple test can save you from having to redo the project after you’ve completed it.
How Long Does a Crochet Plant Hanger Take?
A basic crochet plant hanger may take around two to four hours for someone familiar with chain stitches and single crochet. Beginners may need longer, especially if they are learning to crochet in rounds or adjusting the fit of the basket.
Your project time depends on the yarn thickness, hanger length, stitch pattern, and amount of decoration. A simple design with a small basket and four supporting strands will usually take less time than a detailed, multicolor hanger.
If this is your first project, work in short sessions and focus on consistent stitches rather than speed.
How to Care for Your Crochet Plant Hanger
A little maintenance can help your handmade plant hanger stay attractive for longer.
- Remove dust regularly: Use a soft brush or a gentle vacuum attachment.
- Clean carefully: Follow the yarn label’s washing instructions. Some cotton yarns may shrink or lose their shape if washed incorrectly.
- Avoid constant moisture: Wet soil, water spills, and humid conditions can weaken some fibers over time.
- Check for wear: Replace the hanger if you notice fraying, damaged stitches, or loose connections.
- Keep it away from excessive sunlight: Some yarn colors fade after long periods of direct sunlight.
If you use a removable plant pot, take it out before cleaning the hanger. This makes the process easier and prevents water from soaking into the crochet fabric.
FAQ
1. Is a crochet plant hanger easy for beginners?
Yes. A simple crochet plant hanger is suitable for beginners who know how to make a chain stitch and single crochet. Start with a small pot, a basic basket shape, and four supporting strands. You can add decorative stitches after you become comfortable with the construction.
2. What type of yarn is best for a crochet plant hanger?
Cotton yarn and sturdy cotton cord are popular choices because they offer a natural appearance and are easy to work with. Choose a yarn that creates firm stitches, and test the finished hanger carefully. The yarn’s appearance alone does not guarantee that it can safely support a heavy pot.
3. How much yarn do I need for a crochet plant hanger?
A small, simple hanger may use approximately 50–150 grams of yarn, depending on the pot size, yarn thickness, and hanger length. Larger pots and decorative patterns may require more. Check your yarn label and allow extra yarn for swatches, joining strands, and finishing.
4. Can I make a crochet plant hanger without a wooden ring?
Yes. You can crochet a top loop or gather the supporting strands into a securely constructed attachment. Make sure the loop and joins are suitable for the intended load. A wooden ring is optional, but the finished hanger still needs a reliable attachment system.
5. Can I use a crochet plant hanger outdoors?
You can use one in a sheltered outdoor area if the yarn and other materials are suitable for those conditions. Choose a location protected from heavy rain and excessive sunlight, and inspect the hanger regularly. Always consider moisture, fading, and the combined weight of the plant, pot, soil, and water.