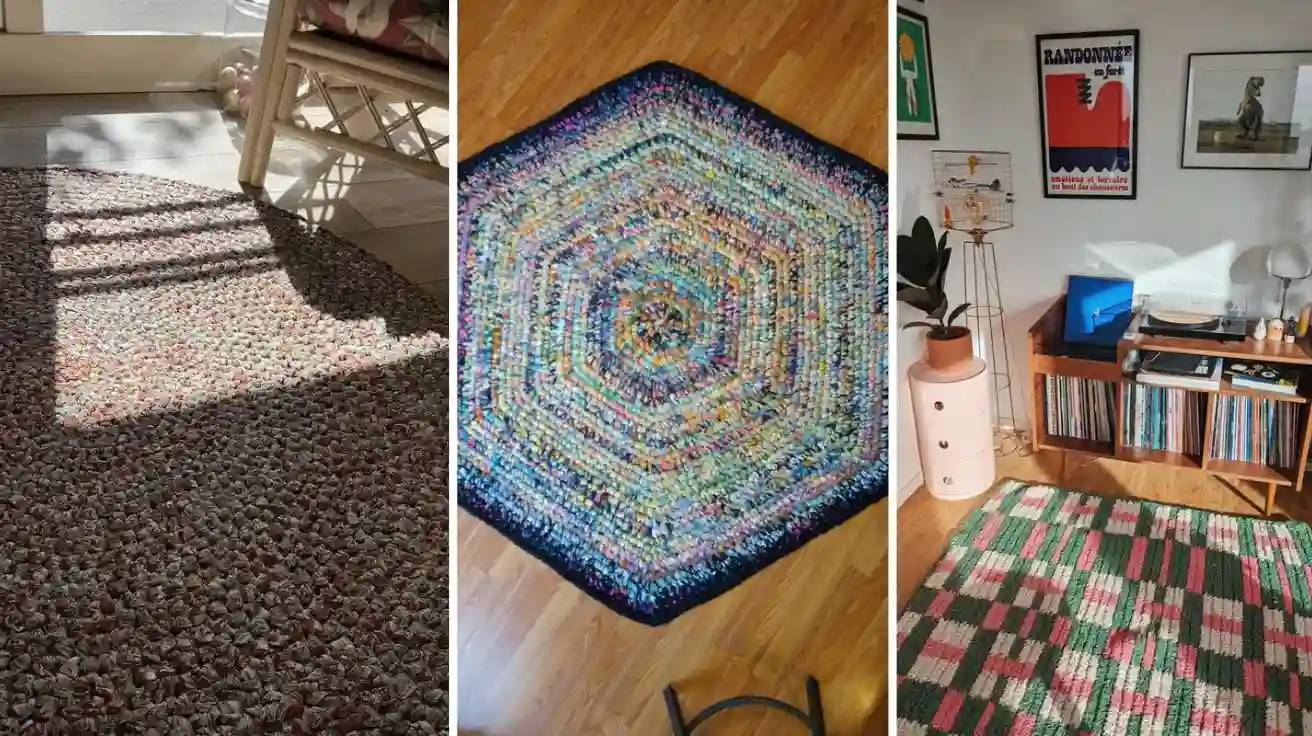
Crochet Rug: An Easy Step-by-Step Guide for Beginners
A handmade crochet rug can make any room feel warmer, cozier, and more personal. Whether you want a soft rug beside your bed, a colorful accent for your living room, or a practical mat for your reading corner, learning how to make a crochet rug is a rewarding way to decorate your home.
You don’t need advanced crochet skills or expensive supplies to get started. With the right yarn, a suitable hook, and a few basic stitches, you can create a beautiful rug that matches your style. You can choose a simple round design, a classic rectangular shape, or a striped rug made with leftover yarn.
In this beginner-friendly guide, you’ll learn which materials to use, how to choose the right stitches, and how to crochet your rug step by step. You’ll also discover sizing tips, finishing techniques, and care advice to help your handmade rug look great for longer.
What Is a Crochet Rug?
A crochet rug is a floor covering made by working yarn or another flexible fiber into connected loops using a crochet hook. Depending on the yarn, stitch pattern, and construction, it can be thick and textured, flat and lightweight, or somewhere in between.
Crochet rugs work well in bedrooms, reading corners, craft rooms, and other areas where you want a decorative accent. They’re also a useful way to practice basic crochet stitches while creating something practical.
Popular styles include:
- Round crochet rugs: Ideal for small spaces, beside a bed, or under a small accent table.
- Rectangular crochet rugs: A versatile choice for bedrooms, hallways, and seating areas.
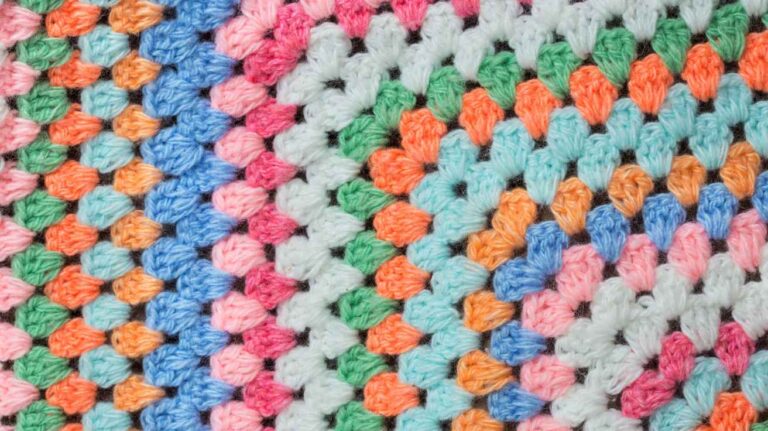
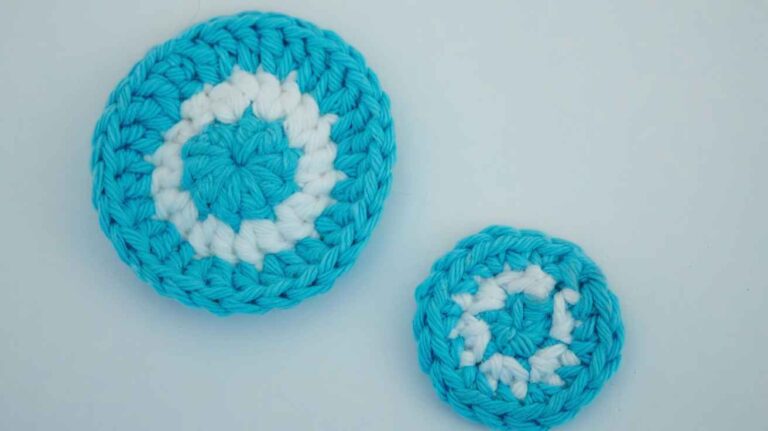
- Striped crochet rugs: Great for combining two or more colors.
- Textured crochet rugs: Use raised stitches or chunky yarn for a more substantial surface.
- Scrap-yarn rugs: Combine compatible leftover yarns to create a colorful, one-of-a-kind design.
The best style depends on where you plan to place your rug, how much yarn you have, and how much time you want to spend making it.
What You Need to Make a Crochet Rug
Gather your supplies before starting. Using suitable yarn and a comfortable hook will make the project easier to manage and help you create a more even result.

Yarn
Cotton, sturdy acrylic, or rug-specific yarn.

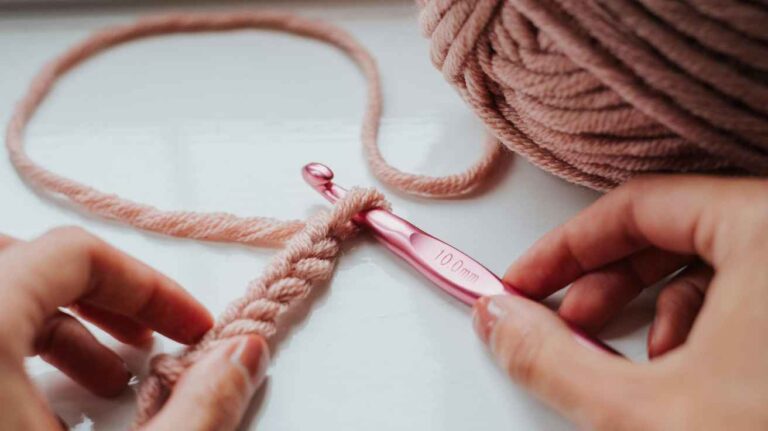
Crochet hook
Choose a size that suits your yarn label and desired fabric.

Finishing tools
Scissors, yarn needle, and measuring tape.
1. Choose the Right Yarn
Yarn choice affects your rug’s softness, durability, thickness, and cleaning needs.
- Cotton yarn: A good option for washable, firm rugs, although it can become heavy when wet.
- Acrylic yarn: Often affordable and available in many colors. Check the care label and intended use.
- T-shirt yarn: Creates a thick, modern rug with a bold texture.
- Recycled fabric yarn: Useful for colorful, sturdy designs when the material is consistent and suitable for floor use.
- Rug yarn: Specifically designed for heavier projects and may offer improved wear resistance.
For a first project, choose a washable yarn that is easy to handle. Avoid yarn that sheds heavily or stretches unpredictably, because it may make the finished rug harder to maintain.
2. Select a Suitable Crochet Hook
The correct hook size depends on the yarn thickness and the fabric you want to create. Bulky yarn often needs a larger hook, while thinner yarn needs a smaller one.
Check the yarn label for the recommended hook size. Make a small test swatch before beginning the full rug. If the stitches feel too tight and the hook is difficult to move, try a larger hook. If the fabric has loose gaps, try a smaller one.
3. Prepare Your Other Tools
Keep a pair of scissors, a blunt yarn needle, and a measuring tape nearby. Stitch markers can also help you mark the beginning of each round, especially when crocheting a circular rug.
For a rug that will sit on a smooth floor, plan to use a suitable non-slip rug pad. A handmade crochet rug can slide even when the stitches are firm.
Which Crochet Stitches Are Best for a Crochet Rug?

The best stitches for a crochet rug are usually simple, sturdy stitches that create a dense fabric. Single crochet is a reliable beginner choice, while half double crochet can help you build the rug more quickly. Slip stitches are useful for joining rounds and finishing edges.
Here are the main stitches to learn.
| Stitch | US abbreviation | Best use |
|---|---|---|
| Chain | ch | Starting chains and turning |
| Slip stitch | sl st | Joining rounds and finishing |
| Single crochet | sc | Dense, firm rug fabric |
| Half double crochet | hdc | Faster growth with moderate texture |
| Double crochet | dc | Lighter, more open designs |
Beginner tip: Start with single crochet if you want a firm, closely stitched rug. Choose half double crochet if you prefer a slightly taller stitch and faster progress. Very open stitch patterns may be less practical for rugs that receive frequent foot traffic.
How to Crochet a Rug Step by Step
This beginner project uses a simple round shape and basic stitches. You can work in continuous rounds or join each round with a slip stitch. Joining rounds makes it easier to see where each new round begins.
The instructions below use US crochet terminology.

Step 1: Make a Magic Ring
Create a magic ring by wrapping the yarn into a loop and pulling a working loop through it with your hook.
If the magic ring feels difficult, chain 4 and join the first and last chains with a slip stitch to form a small ring.
Goal: Create a neat center that can close tightly.

Step 2: Crochet the First Round
Chain 1 if needed for your chosen stitch, then work 8 single crochet stitches into the ring. Pull the tail to close the center.
Join with a slip stitch if you are working joined rounds.
Goal: Make a small, flat circle with no large hole in the center.

Step 3: Increase to Keep the Rug Flat
For a single crochet circle, work 2 single crochet stitches into each stitch of the first round. You will have 16 stitches at the end.
In the next round, increase evenly again. A common starting sequence is one single crochet in the next stitch, then two in the following stitch, repeated around.
Goal: Add enough stitches to expand the circle without curling or ruffling.

Step 4: Continue Growing the Rug
Keep crocheting in rounds, adding increases as needed to maintain a flat shape.
For many single crochet circles, you may need approximately six additional stitches per round for every round of growth, but the correct number depends on your yarn, hook, and tension.
Goal: Make the rug as wide as you need while checking its shape regularly.

Step 5: Add Color and Texture
Change yarn colors at the end of a round to create stripes. For a clean transition, complete the final yarn-over of the joining stitch with the new color.
You can also keep the entire rug one color for a calm, minimalist look.
Goal: Build a design that suits your room without making the project too complicated.

Step 6: Finish the Edge
Once the rug reaches your preferred diameter, work a final round of single crochet or slip stitches if you want a simple border.
Fasten off the yarn and weave in every loose end securely with a yarn needle.
Goal: Create a tidy edge that stays neat during normal use.
How to Tell Whether Your Crochet Rug Is Lying Flat
Lay the rug on the floor after every two or three rounds. If the edges curl upward, you may need more increases. If the edges form waves or ruffles, you may be adding too many stitches.
Don’t automatically change hook size to fix every shape problem. First check your stitch count, tension, and increase spacing. Small adjustments made early are much easier than trying to flatten a finished rug.
How to Choose the Right Crochet Rug Size
Before adding more rounds, decide where the rug will go. A simple measuring plan helps you avoid using too much yarn or ending up with a rug that looks too small for the room.
| Rug placement | Suggested size | Design idea |
|---|---|---|
| Beside a bed | 45–60 cm wide | Small round rug |
| Reading corner | 60–90 cm wide | Textured circular rug |
| Under a small accent table | 75–100 cm wide | Striped round rug |
| Bathroom or dressing area | 40 × 60 cm | Compact rectangular rug |
| Living room accent | 120 cm or wider | Large round or oval rug |
These are starting points rather than strict rules. Measure your space and consider how much of the floor you want the rug to cover.
How Much Yarn Do You Need?
The amount of yarn depends on the rug’s dimensions, stitch density, yarn thickness, and hook size. A small mat may need only a few skeins, while a large floor rug can require substantially more.
The most reliable method is to crochet a sample, weigh it, and use that measurement to estimate your requirements.
For example, if a 20 cm sample weighs 50 grams, a 60 cm round rug has nine times the area of that sample. A rough estimate would be 450 grams, although changes in stitch pattern and tension can affect the actual amount.
This area-based estimate is a useful planning shortcut, not a guarantee. Buy a little extra yarn, especially if your design includes stripes or a border.
Crochet Rug Design Ideas for Every Home
One of the best parts of making your own rug is choosing a design that fits your home. You can use the same basic construction method to create very different looks.
1. Minimalist cream rug

Use one neutral shade for a simple, understated look.
2. Striped boho rug

Alternate two or three colors for a relaxed, handmade style.
3. Farmhouse rug

Try warm earth tones that complement wood and natural fabrics.
4. Colorful scrap-yarn rug

Combine compatible leftovers to create a playful pattern.
For your first rug, keep the stitch pattern simple and let the yarn colors create the visual interest. Once you are comfortable managing increases and keeping your work flat, experiment with textured stitches, stripes, or an oval shape.
Tips for Making a Durable Crochet Rug
A crochet rug needs to handle more wear than a decorative coaster or wall hanging. A few practical choices can help your finished project last longer.
- Use suitable yarn. Choose yarn that can handle the expected foot traffic and cleaning routine.
- Keep your tension consistent. Uneven stitches can create bumps, gaps, or an irregular shape.
- Check the rug as you work. Lay it flat regularly to identify curling or ruffling early.
- Secure every yarn end. Weave ends through several stitches and change direction to help prevent them from working loose.
- Avoid overly loose stitches. A dense fabric is generally better for floor use than a very open design.
- Add a non-slip backing or rug pad. Choose a product suitable for your flooring and rug material.
- Test your care method. Follow the yarn label and test any cleaning product on a small area first.
A Small Detail That Makes a Big Difference
Plan for the rug’s underside before you finish the project. Many crochet patterns focus on the top surface, but the bottom determines how the rug sits on the floor.
A thick, attractive rug can still be inconvenient if it slides, bunches up, or catches on nearby furniture. Check the rug’s stability on the floor where you intend to use it, and use a properly sized non-slip pad if needed. Avoid placing a loose rug where it could create a tripping hazard.
How to Wash and Care for a Crochet Rug
Care instructions depend on the fiber, construction, and any backing attached to the rug. Always check the yarn label before washing.
- Shake the rug gently outdoors to remove loose dust and debris.
- Spot-clean small marks with a method suitable for the yarn.
- Hand-wash or machine-wash only if the yarn and finished construction allow it.
- Avoid twisting or wringing a wet rug, as this can distort its shape.
- Reshape it and allow it to dry completely before putting it back on the floor.
Large rugs may become very heavy when wet, particularly if they use cotton or thick fabric yarn. If a rug is too large for your washing machine, spot cleaning or professional cleaning may be more practical.
Keep the floor underneath dry as well. Moisture trapped between a rug and the floor can damage some surfaces or encourage mildew.
Common Mistakes to Avoid When Crocheting a Rug
Beginners can save time by watching for a few common problems.
| Mistake | What happens | How to fix it |
|---|---|---|
| Too few increases | The circle curls upward | Add increases more frequently |
| Too many increases | The edge becomes wavy | Reduce the number of increases |
| Inconsistent tension | The rug looks uneven | Practice with a small swatch |
| Loose starting center | A hole remains in the middle | Tighten the magic ring securely |
| Unsecured yarn ends | Ends may come loose | Weave them in carefully |
| No floor grip | The rug may slide | Use a suitable non-slip rug pad |
If your first attempt is not perfectly round, don’t unravel the entire rug immediately. Check the stitch count and identify where the shape begins to change. Sometimes adjusting just one round is enough to improve the result.
FAQ: Crochet Rug
1. Is a crochet rug suitable for beginners?
Yes. A crochet rug is a good beginner project if you know how to make a chain and single crochet stitches. Start with a small round or rectangular design, use a medium or bulky yarn, and check your stitch count regularly.
2. What is the best yarn for a crochet rug?
Cotton, sturdy acrylic, and yarn specifically designed for rugs are common choices. The best option depends on the intended location, durability needs, and washing instructions. For a first rug, choose washable yarn with consistent thickness.
3. Can you crochet a rug with regular yarn?
Yes, provided the yarn is suitable for floor use. Regular yarn can create a lighter rug, but thin or delicate yarn may take longer to work and produce a less substantial fabric. Check the yarn’s durability and care instructions before starting.
4. How long does it take to crochet a rug?
A small crochet rug may take several hours to a few days, depending on your experience, stitch pattern, and available crafting time. A large rug made with fine yarn can take much longer. Bulky yarn and simple stitches generally help you finish faster.
5. How do you stop a crochet rug from slipping?
Place a suitable non-slip rug pad underneath it, or use a backing product specifically designed for the rug material and flooring. Test the rug before regular use, and avoid relying on the weight or thickness of the crochet fabric alone to keep it in place.
Conclusion: Create a Crochet Rug That Fits Your Home
Making a crochet rug is a practical way to develop your crochet skills while creating something useful for your home. With suitable yarn, basic stitches, and a little patience, you can create a round mat, a striped accent rug, or a larger floor covering that reflects your personal style.
Start with a manageable size, check your work as you crochet, and take time to finish the edges neatly. Remember that durability, easy cleaning, and floor grip are just as important as appearance.
Ready to begin? Choose your favorite yarn colors, gather your crochet hook, and start your first round. Once you master the basic technique, you can experiment with different sizes, textures, and patterns to make your next crochet rug even more special.
Happy crocheting!