Crochet Curtains Pattern: Easy DIY Window Decor
Want to give your windows a cozy, handmade look without spending money on expensive curtains? This easy crochet curtains pattern will help you create beautiful window decorations that suit your home’s style. Whether you love farmhouse charm, vintage lace, or simple cottage-inspired decor, crocheted curtains can add a personal touch to almost any room.
The best part? You don’t need advanced crochet skills to get started. This beginner-friendly tutorial uses basic chain stitches, double crochet stitches, and a simple mesh pattern to create lightweight curtains that allow natural light to filter through.
In this guide, you’ll learn how to choose the right yarn, measure your windows, follow the crochet curtains pattern, and finish your project neatly. I’ll also share practical tips for adjusting the size, choosing colors, and making your finished curtains look beautiful in your home.
Let’s grab your crochet hook and get started!
What Is a Crochet Curtains Pattern?
A crochet curtains pattern is a set of instructions for creating window coverings with yarn or crochet thread. These patterns can feature open mesh stitches, delicate lace, floral motifs, geometric designs, or solid sections that create different levels of light and privacy.
Crocheted curtains work especially well in kitchens, bedrooms, bathrooms, reading corners, and cozy living spaces. You can make a short curtain that covers the lower half of a window or create a longer panel that extends from the top to the bottom.
For beginners, an open mesh pattern is an excellent starting point because it uses just a few basic stitches. The repeating design also makes it easier to spot mistakes and adjust the curtain’s dimensions as you work.

Materials Needed for This Crochet Curtains Pattern
Before you begin, gather the materials you’ll need. Choosing suitable yarn and a comfortable crochet hook will make a noticeable difference in how your curtains look and hang.
1. Yarn or Crochet Thread
Cotton yarn is a good choice for handmade curtains because it creates clear stitches and is available in many colors and thicknesses.
For this beginner crochet curtains pattern, choose lightweight cotton yarn or a cotton blend. Fine crochet thread is another option if you want a delicate, traditional lace appearance.
Consider these options:
- Cotton yarn: A practical choice for kitchen curtains and everyday window decorations.
- Cotton blends: Useful when you want a different texture or softer drape.
- Fine crochet thread: Ideal for intricate lace curtains and vintage-inspired designs.
- Lightweight acrylic yarn: An alternative for decorative curtains when its care instructions and drape suit your project.
Choose a yarn that can handle the sunlight and cleaning conditions in the room where you’ll hang your curtains.
2. Crochet Hook
Use the hook size recommended on your yarn label as a starting point. A hook that is too small can make the fabric stiff, while a larger hook creates more open spaces.
For a lightweight cotton yarn, a hook around 3.5–4.5 mm may be a useful starting point. Always make a small sample before beginning the full curtain.
3. Other Supplies
You’ll also need:
- Measuring tape
- Scissors
- Yarn needle
- Stitch markers
- Curtain rod or hanging rings
- Notebook for recording measurements
Having everything ready before you start will help you work without unnecessary interruptions.
How to Measure Your Window for Crochet Curtains
Accurate measurements help you avoid making curtains that are too narrow, too short, or unnecessarily heavy.
First, decide where you want the curtain to hang. A kitchen cafe curtain may cover only the lower portion of a window, while a bedroom curtain may extend from above the window frame to the sill or floor.
Step 1: Measure the Window Width
Measure the width of the area you want to cover.
For a relatively flat, modern appearance, you can make the finished panel close to the width of the window. If you prefer a fuller, gathered appearance, make the curtain wider.
For example, if your window is 36 inches wide, you might aim for a finished curtain width of 36–45 inches, depending on your preferred style.
Remember that crochet fabric may stretch or relax when hung, so check your yarn and stitch sample before settling on the final dimensions.
Step 2: Measure the Curtain Length
Measure from the intended hanging point to the bottom of the curtain.
For example, a short kitchen curtain might measure 18–24 inches long, while a longer window panel could measure 48–60 inches or more.
These are sample dimensions rather than fixed requirements. Choose a length that fits your window and the look you want.
Step 3: Make a Gauge Swatch
Crochet a small sample using the stitch pattern you plan to use.
Measure its width and length, then use those measurements to estimate how many stitches and rows you’ll need.
Helpful tip: Wash and dry the swatch according to the yarn label before measuring it again. This helps you understand how the fabric may behave after cleaning.
Choosing the Best Crochet Stitch for Curtains
The stitch you choose affects the appearance, weight, and transparency of your curtains.
Here are four popular options to consider.
| Crochet stitch or style | Appearance | Best use |
|---|---|---|
| Mesh stitch | Open squares and spaces | Simple, lightweight curtains |
| Filet crochet | Open and filled squares | Floral or geometric designs |
| Lace stitch | Delicate decorative openings | Vintage and cottage-style curtains |
| Granny motifs | Repeating squares or flowers | Colorful, creative window panels |
For this tutorial, we’ll use a basic mesh stitch. It creates an airy fabric and is easier to learn than many intricate lace patterns.
If you already know how to make a double crochet stitch, you’ll find the repeating rows straightforward.
Easy Crochet Curtains Pattern for Beginners
This free beginner-friendly crochet curtains pattern creates a rectangular panel with an open mesh design.
You can adjust the width by changing the foundation chain and adjust the length by working more or fewer rows.
Pattern Details
- Skill level: Beginner
- Project type: Window curtain panel
- Stitches used: Chain and double crochet
- Construction: Worked flat in rows
- Design: Open mesh
- Customization: Adjustable width and length
Crochet Abbreviations
This tutorial uses standard US crochet terminology.
- ch: Chain
- dc: Double crochet
- sk: Skip
- st: Stitch
- sts: Stitches
- rep: Repeat
Before You Start
The pattern uses a foundation chain that is a multiple of 2, plus 6 additional chains.
For example, you can start with 26 chains for a small sample or 122 chains for a wider panel.
The actual finished width depends on your yarn, hook size, and tension. Make a sample first if you need a precise measurement.
Step-by-Step Instructions: How to Crochet Curtains
Follow these steps to make your own mesh curtain panel.
Step 1: Make the Foundation Chain
Begin with a slip knot on your crochet hook.
Create a foundation chain using a number of chains that is a multiple of 2, plus 6. For example, chain 122 for a wider sample panel.
Keep your chain stitches relaxed and consistent. If the foundation chain is too tight, the bottom edge may pull inward.
Step 2: Work the First Row
Make 1 double crochet in the sixth chain from your hook.
Next, chain 1, skip the next chain, and make 1 double crochet in the following chain.
Repeat this sequence across the foundation chain:
Chain 1, skip 1 chain, double crochet in the next chain.
Continue until you reach the end of the row. Finish with a double crochet as directed by the stitch sequence.
You should now see the beginning of an open mesh pattern.
Step 3: Turn and Begin the Second Row
After completing the first row, chain 4 and turn your work.
Skip the first double crochet. Make a double crochet in the next double crochet stitch, then chain 1.
Repeat this sequence across the row:
Double crochet in the next double crochet, chain 1.
At the end of the row, work the final double crochet into the second chain of the turning chain from the previous row.
The turning chain creates the height needed to begin the next row.
Step 4: Repeat the Mesh Pattern
Repeat Step 3 for each additional row.
As the panel grows, you’ll see a regular grid of open spaces. These openings give the curtain its lightweight appearance and allow light to pass through.
Keep your tension consistent. If some rows are much tighter than others, the finished panel may look uneven.
Every few rows, lay your work on a flat surface and check its width.
Step 5: Continue Until You Reach Your Desired Length
Keep repeating the mesh row until the curtain reaches your planned length.
Measure the panel while it is lying flat rather than pulling it tightly. If you want a longer curtain, add more rows. If you prefer a short cafe curtain, stop when you reach your chosen measurement.
Remember that the fabric may relax slightly when hung. Check its drape before deciding on the final length.
Step 6: Finish the Edges
When the curtain reaches your desired size, fasten off the yarn and weave in the loose ends with a yarn needle.
For a neat finish, you can crochet a simple single-crochet border around the panel.
Work carefully along the sides, spacing your stitches evenly so the edges remain flat. Add a few extra stitches at the corners if needed to prevent them from pulling.
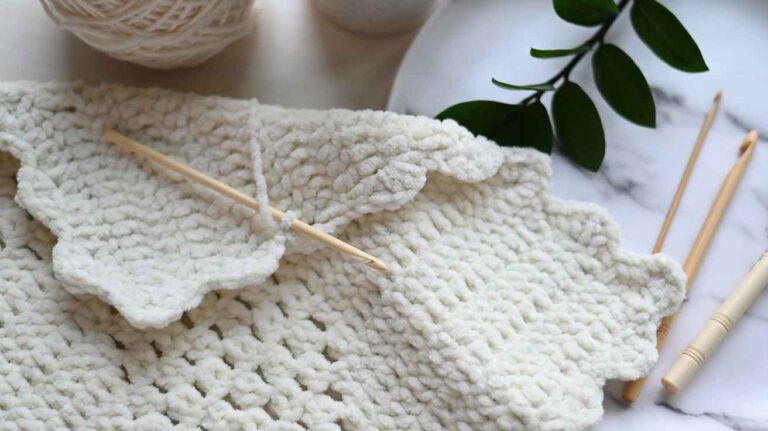
You can also add a decorative scalloped border if you prefer a vintage look. Test the edging on a small section first to make sure it doesn’t make the fabric too heavy.
Step 7: Block the Curtain
Blocking helps even out the stitches and gives the finished panel a more polished shape.
Follow the care instructions for your yarn. For suitable cotton yarn, gently wet the panel, remove excess water without twisting it, and lay it flat to dry in the intended shape.
Avoid stretching the fabric too much, as this can distort the mesh.
If you use steam, check the yarn’s care instructions first and keep the iron or steamer at a safe distance. Excessive heat can damage some fibers.
Step 8: Add the Hanging Method
Once the curtain is dry, decide how you want to hang it.
Here are three options:
- Rod pocket: Fold the top edge over and sew it down to create a channel for the curtain rod.
- Crochet hanging loops: Make evenly spaced chain loops along the top edge.
- Curtain rings or clips: Attach suitable rings or clips to a reinforced top edge.
Make sure the top edge is strong enough to support the panel’s weight.
For a simple rod pocket, check the rod’s diameter before deciding how wide to make the folded section.
More Crochet Curtains Pattern Ideas to Try
Once you have completed the basic mesh panel, you can experiment with other designs.


1. Vintage Lace Crochet Curtains
Vintage lace curtains are a lovely choice for cottage-style homes and traditional kitchens.
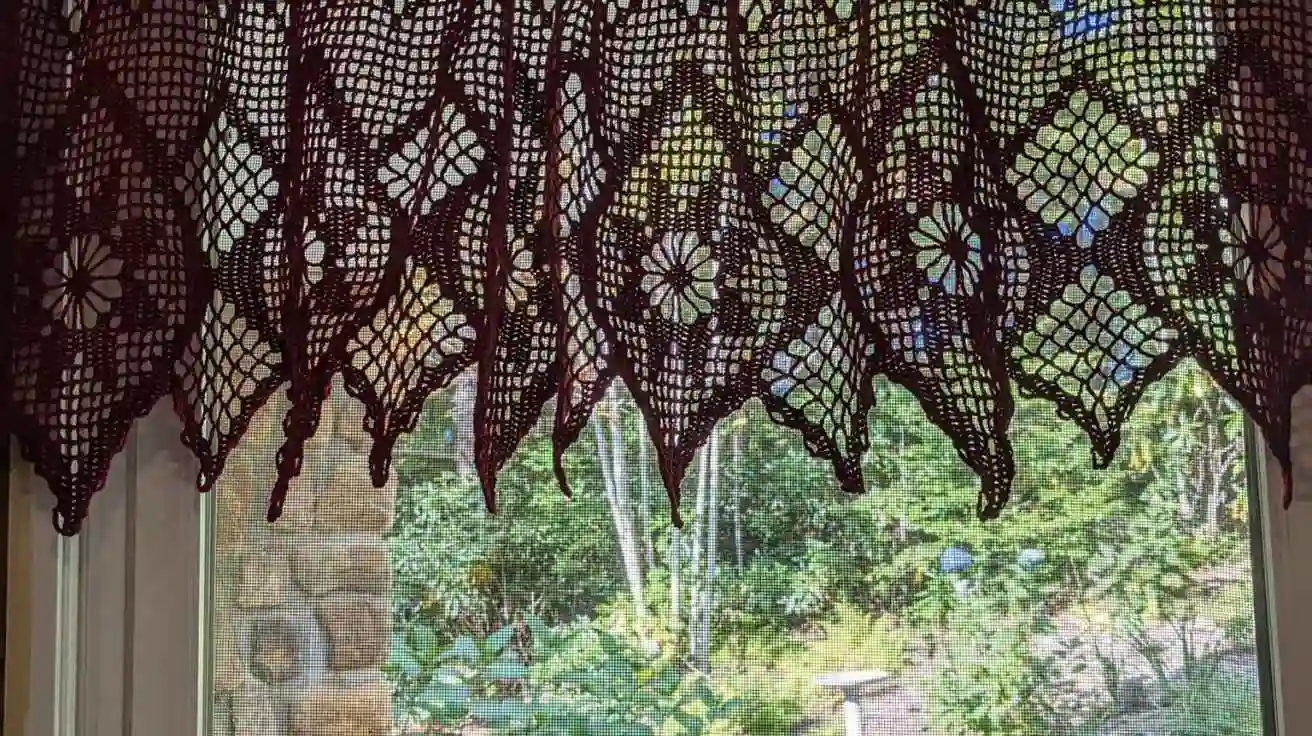
Look for patterns with repeating fans, shells, flowers, or pineapple motifs. Fine cotton thread creates delicate details, although these designs often require more time and careful stitch counting.
If you’re new to crochet, try a short valance before making a full-length lace panel.
2. Filet Crochet Curtains
Filet crochet uses a grid of open and filled spaces to create decorative designs.
You can use this technique to make curtains featuring hearts, leaves, flowers, geometric shapes, or other simple motifs.
It is a good option if you want your curtains to have a recognizable design rather than a plain mesh texture.
3. Floral Crochet Curtains
Floral curtains bring a soft, decorative touch to bedrooms, kitchens, and reading nooks.
You can create individual crochet flowers and join them together or work a repeating floral motif directly into the curtain.
For a balanced appearance, choose two or three complementary colors instead of using too many shades.
4. Crochet Cafe Curtains
Cafe curtains cover only part of a window, making them useful when you want a decorative window covering without hiding all the natural light.
They work especially well in kitchens, breakfast areas, and small bathrooms.
A simple mesh pattern with a scalloped bottom edge can create an attractive cafe curtain without requiring complicated stitches.
5. Modern Minimalist Crochet Curtains
If you prefer a simple interior, try a plain mesh pattern in cream, white, beige, or soft gray.
Keep the design free from heavy borders and large motifs. The texture of the crochet itself becomes the main decorative feature.
This style pairs well with natural wood, neutral walls, and simple furniture.
Tips for Making Beautiful Crochet Curtains
A few small decisions can improve the finished result.
Choose Lightweight Yarn
Heavy yarn can make large curtains difficult to hang and may cause them to stretch under their own weight.
Lightweight cotton or suitable cotton-blend yarn is often a practical starting point. If you’re using thicker yarn, make a small sample to check the drape before committing to a full panel.
Check the Width as You Work
Long rows can make small tension differences difficult to notice.
Lay your work flat every few rows and check that both sides remain straight. If the panel becomes wider or narrower, check your stitch count and turning chain.
Think About Privacy
Open mesh crochet curtains are designed to let light pass through. They may provide limited privacy during the day, but they won’t offer complete privacy at night when indoor lights are on.
For bedrooms and bathrooms, consider hanging your crochet panel over a separate privacy blind or lining.
Consider Sunlight and Cleaning
Windows can expose yarn to strong sunlight over time. Choose colors and fibers with the room’s conditions in mind, and follow the yarn label when washing your curtains.
Before making a large set, wash a small sample to check for color bleeding, shrinkage, or changes in texture.
Make Two Matching Panels
For wider windows, two panels can be easier to handle than one very wide piece.
Make both panels using the same yarn, hook, stitch pattern, and row count. Compare their dimensions before finishing the edges so they hang evenly.
A Useful Trick for Getting the Perfect Curtain Width
One of the easiest ways to avoid wasting yarn is to calculate the width from a sample instead of guessing how many chains you need.
Here’s a simple example:
- Crochet a sample mesh row that measures 6 inches wide.
- Count the number of mesh repeats in that sample.
- Divide the desired curtain width by 6 inches.
- Multiply the result by the number of repeats in your sample.
- Adjust the foundation chain to match the pattern’s repeat.
For example, if your sample contains 12 mesh repeats across 6 inches and you want a curtain approximately 36 inches wide, you’ll need around 72 repeats.
This is only an estimate. Check the finished sample and the pattern’s foundation-chain requirements before starting the full panel.
Why this method helps: It lets you estimate the size using your actual yarn, hook, and tension. That is more reliable than copying a foundation-chain count from a different project.
Common Mistakes to Avoid
Even a simple crochet curtains pattern can present a few challenges. Here’s how to handle the most common problems.
| Common mistake | How to fix it |
|---|---|
| The curtain becomes wider or narrower | Count stitches regularly and check your turning chain. |
| The foundation edge is too tight | Use a relaxed chain or a slightly larger hook for the foundation. |
| The mesh looks uneven | Maintain consistent tension and avoid skipping chain spaces accidentally. |
| The fabric looks too heavy | Try a lighter yarn or a more open stitch pattern. |
| The edges curl | Check your tension and add an even border if appropriate. |
| The curtain stretches after hanging | Test the yarn’s drape and weight before making the full panel. |
| The panel is too transparent | Add a separate privacy blind or lining. |
Don’t worry if your first sample isn’t perfect. A small test panel gives you the chance to adjust the stitch size and tension before committing to a larger project.
Read – Common Crochet Mistakes For Beginners
How to Care for Handmade Crochet Curtains
Proper care helps your curtains maintain their shape and appearance.
Always check the yarn label before washing. Some yarns can be machine-washed, while others need gentle handwashing.
When washing is suitable, avoid twisting or wringing the fabric. Support the curtain while removing excess water, then dry it according to the yarn’s care instructions.
If the panel becomes uneven, gentle blocking may help restore its shape. Avoid excessive heat and stretching, especially with cotton crochet fabric.
You should also inspect the hanging loops, rod pocket, or curtain clips occasionally. Repairing a loose area early can prevent damage to the rest of the panel.
FAQ Section
Frequently Asked Questions About Crochet Curtains Pattern
1. What is the easiest crochet curtains pattern for beginners?
A basic mesh crochet curtains pattern is one of the easiest options for beginners. It uses chain stitches and double crochet stitches in a repeating sequence. The open design is lightweight, easy to customize, and suitable for kitchen curtains, small windows, and decorative panels.
2. What yarn is best for crocheting curtains?
Cotton yarn is a practical choice for many crochet curtains because it provides clear stitch definition and comes in different weights. Lightweight cotton or cotton blends can work well for airy panels, while fine crochet thread is suitable for delicate lace curtains. Always test the yarn’s drape and follow its care instructions.
3. How long does it take to crochet a curtain?
The time depends on the curtain’s size, stitch pattern, yarn thickness, and your crochet speed. A small cafe curtain may take considerably less time than a full-length lace panel. Simple mesh patterns are generally quicker to work than intricate floral or filet designs.
4. Do crochet curtains provide privacy?
Crochet curtains provide varying levels of privacy depending on their stitch pattern and density. Open mesh curtains allow light and visibility to pass through, so they usually don’t provide complete privacy. For bedrooms or bathrooms, pair them with a privacy blind or a suitable lining.
5. Can I adjust a crochet curtains pattern to fit any window?
Yes. You can usually customize a crochet curtains pattern by adjusting the foundation chain for the width and repeating the pattern rows for the length. Make a gauge swatch first to estimate the finished dimensions, and follow the pattern’s stitch-repeat requirements to keep the edges even.