Crochet Bucket Hat Free Pattern Tutorial for Beginners
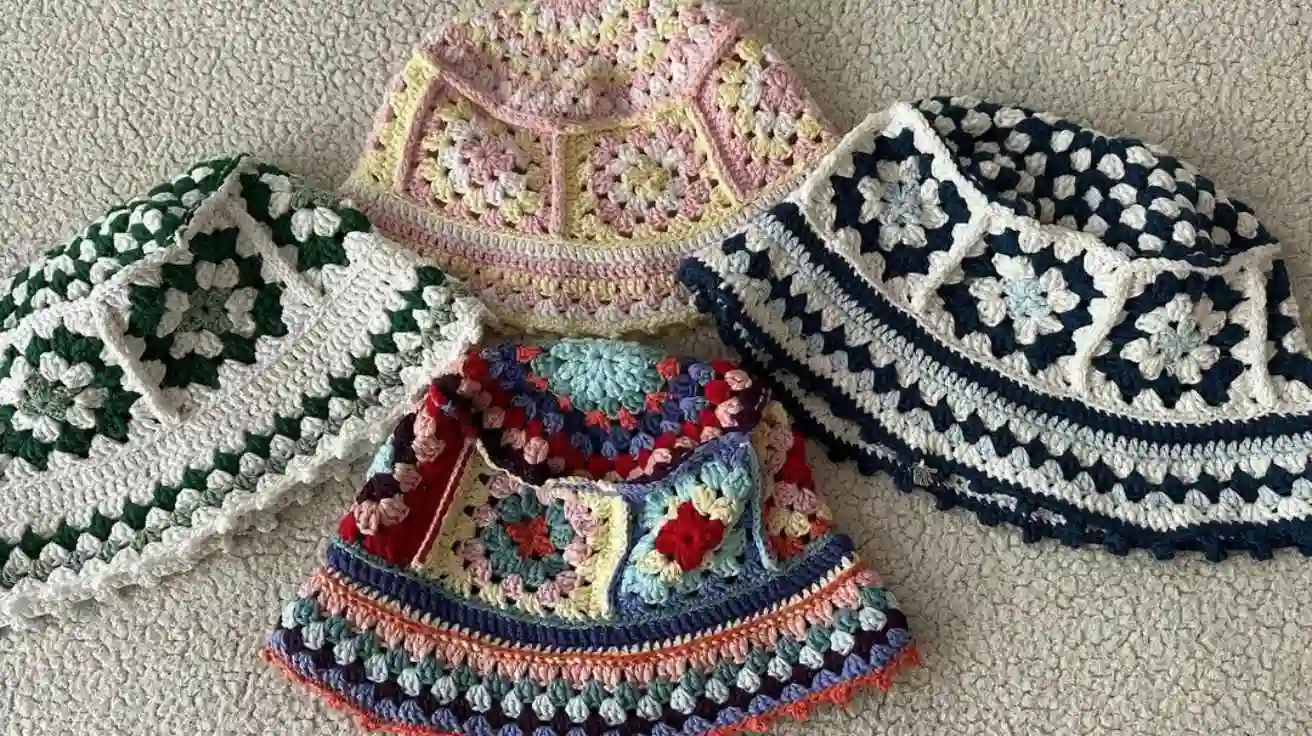
Looking for a fun crochet project that is stylish, practical, and easy to make? This crochet bucket hat free pattern tutorial will help you create your own handmade bucket hat using basic crochet stitches. Whether you are a beginner or an experienced crocheter, this project is a great way to practice your skills while making a fashionable accessory.
Crochet bucket hats are perfect for sunny days, beach trips, vacations, and everyday outfits. You can customize yours with different yarn colors, textures, and decorative details.
In this tutorial, you will learn how to crochet a bucket hat from the top down, shape the sides, create a beautiful brim, and finish your hat neatly. The instructions use simple US crochet terminology and include helpful step-by-step guidance.
Why You’ll Love This Crochet Bucket Hat Pattern
This crochet bucket hat free pattern tutorial is a wonderful project for anyone who enjoys making handmade accessories.
Here are some reasons to try it:
- Beginner-friendly: Uses basic stitches and simple techniques.
- Quick project: Most crocheters can complete an adult hat in a few hours, depending on experience.
- Customizable: Choose your favorite colors and yarn textures.
- Practical accessory: Great for summer outfits, outdoor activities, and holidays.
- Budget-friendly: Requires only a small amount of yarn.
- Perfect handmade gift: Make one for friends, family members, or yourself.
The best part is that you can adjust the hat’s size and brim width to create a style that matches your preferences.
Materials Needed for This Crochet Bucket Hat Free Pattern Tutorial
Before starting, collect the following supplies.

| Material | Recommended choice |
|---|---|
| Yarn | Medium-weight cotton yarn (Category 4) |
| Crochet hook | 4.0 mm or 4.5 mm |
| Scissors | Small sharp scissors |
| Yarn needle | For weaving in ends |
| Stitch marker | To mark the beginning of rounds |
| Measuring tape | To check hat measurements |
1. Choose the Right Yarn
Cotton yarn is an excellent choice for a summer bucket hat because it is breathable, comfortable, and holds its shape well.
You can also use a cotton blend if you prefer a softer texture.
For your first hat, choose a solid color such as beige, cream, white, brown, or pastel pink. These colors are easy to style and give your finished hat a classic appearance.
2. Select the Correct Crochet Hook
A 4.0 mm or 4.5 mm crochet hook is a good starting point for medium-weight cotton yarn.
However, always check your gauge. If your stitches are too loose, try a smaller hook. If they are too tight, use a larger hook.
Crochet Abbreviations and Stitch Guide
This pattern uses standard US crochet terminology.
| Abbreviation | Meaning |
|---|---|
| ch | Chain |
| sl st | Slip stitch |
| sc | Single crochet |
| hdc | Half double crochet |
| dc | Double crochet |
| inc | Increase (2 stitches in one stitch) |
| st | Stitch |
| rnd | Round |
| rep | Repeat |
Important: The pattern is worked in continuous rounds unless otherwise stated. Use a stitch marker to identify the beginning of each round.
Finished Size and Gauge
This beginner crochet bucket hat pattern is designed for an average adult head.
- Adult head circumference: approximately 21–23 inches (53–58 cm).
- Crown diameter: approximately 6.5–7 inches (16.5–18 cm).
- Hat depth: approximately 7–8 inches (18–20 cm).
- Brim width: approximately 2–2.5 inches (5–6.5 cm).
Gauge: Approximately 16 single crochet stitches and 18 rounds measure 4 × 4 inches (10 × 10 cm).
These measurements are starting estimates. Your finished size will depend on your yarn, hook, tension, and stitch gauge.
Crochet Bucket Hat Free Pattern Tutorial: Step-by-Step Instructions
Now it is time to make your bucket hat!
This pattern begins with a flat circular crown. You will then crochet the sides downward before adding a slightly flared brim.
Step 1: Make the Crown

Start by creating the top of your bucket hat.
Instructions:
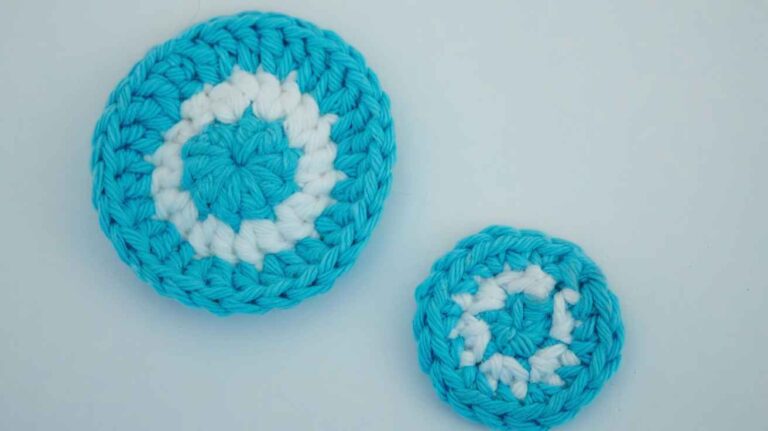
- Round 1: Make a magic ring and crochet 6 sc into the ring. (6 stitches)
- Round 2: Work 2 sc in each stitch around. (12 stitches)
- Round 3: Repeat 1 sc, 2 sc in next stitch around. (18 stitches)
- Round 4: Repeat 2 sc, 2 sc in next stitch around. (24 stitches)
- Round 5: Repeat 3 sc, 2 sc in next stitch around. (30 stitches)
- Round 6: Repeat 4 sc, 2 sc in next stitch around. (36 stitches)
- Round 7: Repeat 5 sc, 2 sc in next stitch around. (42 stitches)
- Round 8: Repeat 6 sc, 2 sc in next stitch around. (48 stitches)
Continue increasing by 6 stitches per round until the crown reaches approximately 6.5–7 inches in diameter.
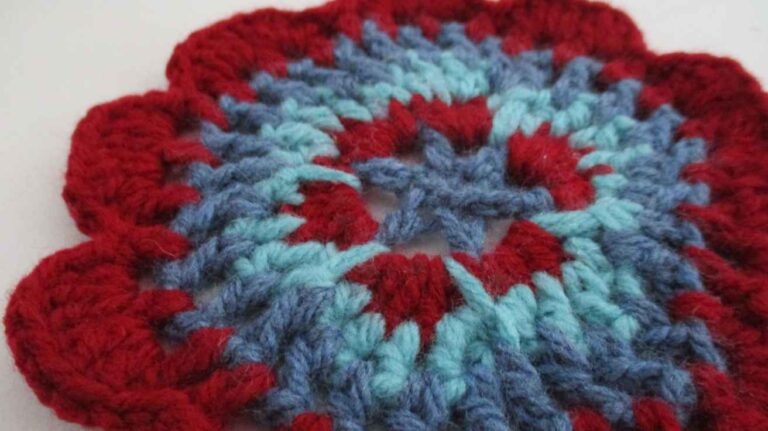
Beginner tip: Lay your crochet work on a flat surface every few rounds. It should form a flat circle rather than curling into a bowl or becoming wavy.
Step 2: Crochet the Hat Sides

Once your crown reaches the desired diameter, stop increasing.
Now you will create the sides of your bucket hat.
Instructions:
- Round 1: Crochet 1 sc in every stitch around.
- Rounds 2–10: Continue working 1 sc in each stitch around.
- Keep the stitch count consistent throughout these rounds.
Continue until the sides measure approximately 3–4 inches (7.5–10 cm), or until you reach your preferred hat depth.
Helpful tip: Keep your stitches even and avoid adding extra stitches. Increasing during this stage can make the hat wider instead of creating straight sides.
Step 3: Create the Bucket Hat Brim

The brim gives a crochet bucket hat its recognizable shape. It also provides extra coverage from the sun.
For this pattern, you will gradually increase stitches to create a gently flared brim.
Instructions:
- Round 1: Repeat 7 sc, 2 sc in the next stitch around.
- Round 2: Crochet 1 sc in every stitch around.
- Round 3: Repeat 8 sc, 2 sc in the next stitch around.
- Round 4: Crochet 1 sc in every stitch around.
- Round 5: Repeat 9 sc, 2 sc in the next stitch around.
- Round 6: Crochet 1 sc in every stitch around.
Continue with additional increase rounds if you want a wider brim.
For a firmer brim, keep your stitches tight and consistent. You can also use a slightly smaller crochet hook for the final rounds.
Beginner tip: If your brim becomes too wavy, you may be increasing too quickly. If it curls upward, you may need more increases.
Step 4: Finish the Edge

A neat finishing edge makes your crochet bucket hat look more professional.
To finish:
- Crochet one final round of single crochet without increases.
- Join with a slip stitch if working joined rounds.
- Cut the yarn, leaving a tail of approximately 6 inches.
- Pull the yarn through the final loop.
- Use a yarn needle to weave in loose ends.
Check the brim to make sure it lies evenly.
You can add a decorative slip-stitch border or a contrasting yarn color for an extra touch.
Step 5: Shape and Style Your Finished Hat

Your crochet bucket hat is almost ready!
Before wearing it, gently shape the crown and brim with your hands.
If needed, lightly dampen the hat and lay it flat to dry. Avoid stretching it too much, especially if you want the brim to keep its shape.
You can also add:
- A small crochet flower.
- A contrasting stripe.
- A decorative ribbon.
- A colorful border.
- A small handmade label.
Your finished hat is now ready to wear!
6. Tips for Getting the Perfect Crochet Bucket Hat
Here are some useful tips to help you achieve a neat and professional-looking result.
Maintain Consistent Stitch Tension
Try to keep your stitches the same size throughout the project. Uneven tension can affect the shape of your crown and brim.
Check Your Measurements
Measure your crown before starting the sides. A crown that is too small or too large will affect the final fit.
Use Cotton Yarn
Cotton yarn is especially suitable for summer hats because it is breathable and provides good stitch definition.
Make the Brim Firm
The brim should hold its shape without feeling too stiff. Consistent tension and the right hook size can help.
Customize Your Colors
Try combining two or three colors to create a striped bucket hat. You can also use leftover yarn for decorative details.
7. Common Mistakes to Avoid
| Common mistake | How to fix it |
|---|---|
| Crown curls upward | Add increases or check your stitch tension. |
| Crown becomes wavy | Reduce unnecessary increases. |
| Sides become wider | Avoid increasing during the side section. |
| Brim curls upward | Add more gradual increases. |
| Hat feels too tight | Check gauge and increase the crown size. |
| Brim looks uneven | Count stitches and maintain consistent tension. |
8. How to Customize Your Crochet Bucket Hat
One of the best things about making your own bucket hat is the ability to customize it.
Here are some creative ideas.
Make a Striped Bucket Hat
Change yarn colors every two or three rounds to create beautiful stripes. Neutral combinations such as beige and white or brown and cream look particularly stylish.
Add a Crochet Flower
Make a small crochet flower and sew it onto the side of your hat. This creates a cute summer-inspired design.
Try a Wider Brim
If you prefer extra sun coverage, add more increase rounds to make the brim wider.
Make a Reversible Bucket Hat
Create two matching hat layers in different colors and join them neatly. This gives you two styling options in one accessory.
9. How Long Does It Take to Crochet a Bucket Hat?
A simple adult crochet bucket hat usually takes around 3–6 hours, depending on your crochet experience, yarn thickness, hook size, and desired brim width.
Beginners may need additional time to practice the magic ring, count stitches, and maintain consistent tension.
If this is your first crochet hat, take your time and focus on getting the shape right.
FAQ
1. Is a crochet bucket hat easy for beginners?
Yes! A crochet bucket hat is a beginner-friendly project when made with basic stitches such as single crochet. Beginners should learn the magic ring, increasing, working in rounds, and maintaining consistent stitch tension before starting.
2. What yarn is best for a crochet bucket hat?
Medium-weight cotton yarn is an excellent option for crochet bucket hats. It is breathable, comfortable, and helps the hat maintain its shape. Cotton blends are also suitable alternatives.
3. How many skeins of yarn do I need for a crochet bucket hat?
Most adult crochet bucket hats require approximately 100–150 grams of medium-weight yarn, although the amount depends on the hat size, stitch pattern, and brim width. Check your yarn label for the yardage per skein.
4. How do I stop my crochet bucket hat brim from curling?
To prevent curling, make sure you use enough increases around the brim. If the brim curls upward, it may need more increases. If it becomes wavy, reduce the number of increases.
5. Can I make a crochet bucket hat in different sizes?
Yes! You can customize the crown diameter, side depth, and brim width to fit different head sizes. Measure the intended wearer’s head circumference before starting.