Crochet Blanket for Beginners: Easy Step-by-Step Guide
Have you ever wanted to make a soft, cozy blanket with your own hands but felt unsure where to start? Learning crochet can seem confusing at first, especially when you see complicated patterns, unfamiliar abbreviations, and beautiful blankets made by experienced crafters. The good news is that you don’t need advanced skills to create something lovely.
A crochet blanket for beginners is one of the best first projects because it helps you practice basic stitches while creating something useful for your home. With the right yarn, a comfortable hook, and a simple pattern, you can make a beautiful blanket even if you’ve never held a crochet hook before.
In this guide, you’ll learn how to choose supplies, make your first stitches, follow a beginner-friendly blanket pattern, fix common mistakes, and finish your blanket neatly. You’ll also find step-by-step visual guides to help you understand each stage of the process.
Why Is a Crochet Blanket a Good Project for Beginners?
A crochet blanket is an excellent beginner project because most simple designs use just one or two basic stitches repeated across rows. You don’t need to learn complicated shaping or sew together lots of small pieces.
Blankets also allow you to practice at your own pace. If you make a mistake, you can undo a few stitches and try again without starting the entire project over.
Here are a few reasons to try a beginner crochet blanket:
- Easy to customize: Choose your preferred colors, texture, width, and length.
- Useful and practical: Your finished blanket can decorate a sofa, cover a bed, or keep you warm.
- Skill-building: You’ll practice chain stitches, turning chains, and basic crochet stitches.
- Great for gifting: A handmade blanket makes a thoughtful birthday, holiday, or housewarming gift.
- Flexible project: Work on a few rows each evening instead of finishing everything at once.
The best part is that your first blanket doesn’t have to look perfect. Consistent practice matters more than perfectly even stitches.
What You Need to Make a Crochet Blanket for Beginners
Before you begin, gather a few basic crochet supplies. You don’t need an expensive kit or a large collection of tools to get started.

1. Choose Beginner-Friendly Yarn
Yarn affects how your blanket feels, how quickly it grows, and how easy it is to see your stitches.
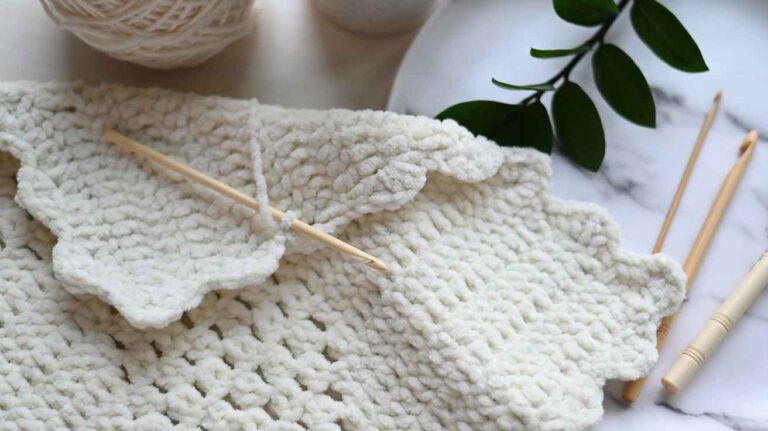
For your first blanket, medium-weight yarn is a practical choice. It is thick enough to handle comfortably without becoming too bulky.
Look for yarn labeled Category 4, Medium, or worsted weight. Smooth, light-colored yarn makes it easier to see individual stitches than very dark or fuzzy yarn.
Here are some common options:
| Yarn type | Best for | Beginner suitability |
|---|---|---|
| Acrylic | Affordable everyday blankets | Excellent |
| Cotton | Lightweight, breathable projects | Good |
| Wool | Warm, cozy blankets | Good, depending on care needs |
| Chenille | Soft, plush blankets | Can be challenging because stitches are harder to see |
| Super bulky yarn | Thick blankets that grow quickly | Good if you prefer larger stitches |
For an affordable first project, choose a smooth acrylic yarn that can be machine-washed according to its care label.
2. Select the Right Crochet Hook
The correct hook size depends on your yarn and the fabric you want to create. Check the yarn label for its recommended hook size.
A 5 mm or 5.5 mm hook is a common starting point for medium-weight yarn, although your yarn label should guide your final choice. An ergonomic hook with a comfortable handle can make longer crochet sessions easier on your fingers.
3. Gather the Remaining Supplies
You will also need:
- Sharp scissors for cutting yarn.
- A blunt-tipped yarn needle for weaving in loose ends.
- A measuring tape to check your blanket’s dimensions.
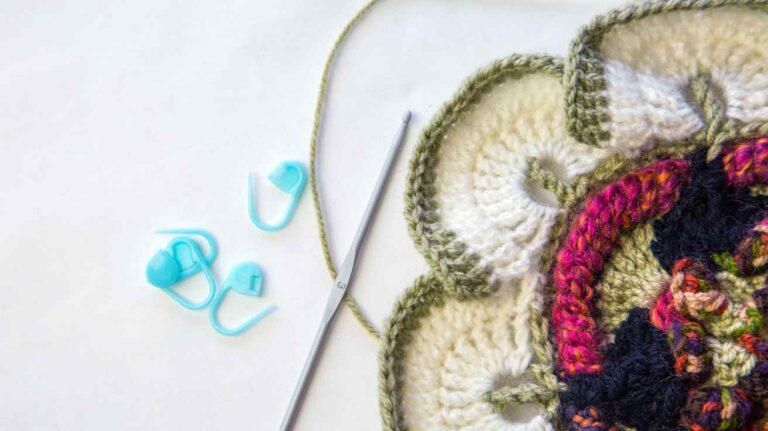
- Stitch markers to mark the first or last stitch of a row.
- A notebook or row counter to track your progress.
Beginner tip: Keep your supplies in a small basket or project bag. Having everything in one place makes it easier to return to your blanket whenever you have free time.
Basic Crochet Stitches You Should Know
You don’t need to learn every crochet stitch before starting a blanket. A few basic techniques are enough for many simple designs.

Chain Stitch (ch)
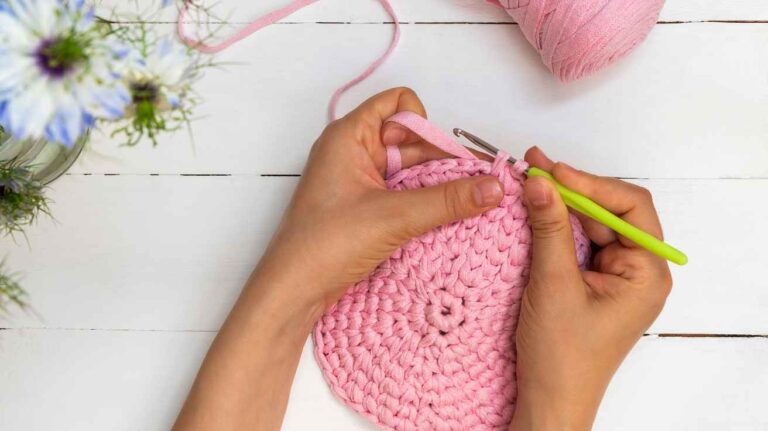
The chain stitch creates the foundation for many crochet projects. You’ll make a row of chains before working the first row of your blanket.
To make a chain stitch:
- Make a slip knot and place it on your hook.
- Wrap the yarn over the hook.
- Pull the yarn through the loop already on the hook.
- Repeat until you have the required number of chains.
Try making 15–20 chains first. Practice keeping them loose enough for your hook to move through easily.
Single Crochet (sc)
Single crochet creates a compact fabric that works well for simple blankets, especially when you want a firm, warm texture.
To make a single crochet using US terminology:
- Insert your hook into the required stitch.
- Yarn over and pull up a loop. You should have two loops on your hook.
- Yarn over again.
- Pull through both loops.
Repeat across the row.
Double Crochet (dc)
Double crochet creates a taller stitch and a more open fabric. It can help a blanket grow faster than single crochet.
To make a double crochet:
- Yarn over before inserting the hook into the stitch.
- Insert the hook and yarn over again.
- Pull up a loop, leaving three loops on the hook.
- Yarn over and pull through two loops.
- Yarn over again and pull through the remaining two loops.
If you’re completely new to crochet, practice chain stitches and single crochet first. Once those feel comfortable, you can experiment with double crochet.
Important: The stitch names in this guide use US crochet terminology. UK patterns use some different names, so always check which terminology a pattern follows.
How to Make a Crochet Blanket for Beginners: Step-by-Step
This simple rectangular blanket uses single crochet stitches. It is suitable for beginners who want a straightforward pattern without complicated shaping.

Step 1: Decide on Your Blanket Size
First, decide how you plan to use your blanket. A small lap blanket is easier to finish than a large bed blanket, so it can be a good first project.
Common approximate finished sizes include:
- Baby blanket: 30 × 36 inches.
- Small lap blanket: 36 × 48 inches.
- Throw blanket: 50 × 60 inches.
- Larger bed blanket: depends on the mattress and desired drape.
These are starting points rather than strict standards. Choose the size that suits your needs, available yarn, and patience.
For your first project, consider a small lap blanket measuring approximately 36 × 48 inches.
Step 2: Make a Foundation Chain

Create a slip knot and place it on your hook. Then make a chain long enough to reach your intended blanket width.
The number of chains depends on your yarn, hook, and personal tension. Rather than guessing a fixed number, make a small test swatch to calculate how many stitches you’ll need.
For example, if your swatch measures 4 inches wide and contains 12 single crochet stitches, you can estimate the starting chain for a 36-inch width:
- 12 stitches ÷ 4 inches = 3 stitches per inch.
- 36 inches × 3 stitches = approximately 108 stitches.
This is an estimate. Your foundation chain and stitch count may differ slightly, so check your pattern instructions and gauge before starting the full blanket.
Step 3: Crochet the First Row

Insert your hook into the second chain from the hook, unless your chosen pattern specifies otherwise.
Make one single crochet in each chain across the row. When you reach the end, count your stitches to check that you haven’t accidentally skipped one.
Your first row might look slightly uneven. That’s normal. Focus on making each stitch with a similar amount of tension rather than trying to make every stitch perfect.
Step 4: Turn and Begin the Next Row

When you finish the first row, make one turning chain for this simple single crochet pattern. Turn your work so you can crochet back across the row.
Make one single crochet in each stitch across. Pay special attention to the first and last stitches because beginners often miss these when turning.
A stitch marker can help you identify the last stitch of each row. Place it in the final stitch as you complete the row, then move it when needed.
Step 5: Repeat the Rows Until the Blanket Reaches Your Desired Length

Continue repeating the same row:
- Finish the row with one single crochet in each stitch.
- Make one turning chain.
- Turn your work.
- Crochet one single crochet in each stitch across.
- Count your stitches occasionally to keep the width consistent.
Keep going until the blanket reaches your desired length.
You don’t need to finish the blanket in one sitting. Try completing five or ten rows per session, depending on your schedule and comfort.
A useful trick: Measure the blanket after every 10–15 rows. This helps you spot changes in width or tension before you’ve invested too much time in the project.
Step 6: Change Colors if You Want a Striped Blanket

A single-color blanket is the easiest option, but stripes can make your finished project more personal.
To change colors neatly, begin the final stitch of a row with your current yarn. When two loops remain on your hook, yarn over with the new color and pull it through those loops. Then continue with the new yarn.
Leave yarn tails long enough to weave in securely later.
You can change colors every few rows, create wide stripes, or use a repeating color sequence. For a calm, coordinated look, try cream and sage green, beige and dusty pink, or gray and white.
If this is your first blanket, consider using only two colors to keep the process manageable.
Step 7: Fasten Off and Weave in the Ends

Once your blanket reaches the desired length, complete the last stitch and cut the yarn, leaving a tail of several inches.
Pull the cut end through the loop on your hook and gently tighten it to secure the stitch. Thread the yarn tail onto a blunt yarn needle.
Weave the tail through several stitches on the wrong side of the fabric, changing direction once to help secure it. Trim the excess yarn without cutting into the blanket.
Repeat this process for every loose end, including those left by color changes.
Step 8: Shape and Finish Your Blanket

Lay the blanket flat and check its shape. If the edges look uneven, don’t worry. Small differences are common in early projects.
You can gently straighten the blanket and follow the yarn label’s washing and blocking instructions. Some fibers tolerate wet blocking, while others may stretch or lose their texture if handled incorrectly.
For acrylic yarn, use the care label as your guide and avoid high heat unless the manufacturer specifically permits it.
Once the blanket is dry and the edges look neat, your first crochet blanket is ready to use or give as a handmade gift.
Tips for Making Your First Crochet Blanket Look Neat
A simple crochet blanket can look beautiful when you pay attention to a few small details. You don’t need advanced techniques to create a polished result.
Keep Your Tension Consistent
Tension refers to how tightly or loosely you hold your yarn while crocheting. Tight stitches can make your blanket stiff, while loose stitches can create a softer, more open fabric.
Try to hold the yarn comfortably without pulling it too tightly. If your hands feel tense, pause for a moment before continuing.
Count Your Stitches Regularly
If your blanket becomes narrower or wider as you work, you may be skipping the first stitch or adding an extra stitch at the end of a row.
Count your stitches every few rows. For a rectangular blanket, keeping the same stitch count throughout the project helps maintain straight sides.
Choose a Simple Color Scheme
Two or three coordinating colors can make your blanket look carefully designed without adding much difficulty.
Try these combinations:
- Cream and sage green for a natural, farmhouse look.
- Dusty pink and white for a soft, cozy style.
- Navy blue and gray for a modern living room.
- Beige and terracotta for a warm, earthy palette.
Make a Small Gauge Swatch First
Here’s a useful tip many beginners overlook: test your yarn and hook before starting the full blanket.
Crochet a small square, measure its width and height, and count the stitches and rows. This helps you estimate your yarn needs and finished dimensions more accurately.
If the fabric feels too stiff, try a larger hook. If it feels too loose, try a smaller hook. A small test swatch can save hours of reworking a large blanket.
Common Beginner Crochet Blanket Mistakes and How to Fix Them
Mistakes are part of learning crochet. The important thing is to recognize them early and understand how to correct them.
| Common mistake | Why it happens | How to fix it |
|---|---|---|
| Uneven edges | Missing or adding stitches | Count every row and mark the final stitch |
| Tight foundation chain | Pulling the yarn too firmly | Loosen your grip or use a larger hook for the chain |
| Holes in unexpected places | Skipped stitches or inconsistent tension | Check where you insert your hook |
| Wavy blanket edges | Too many stitches or loose tension | Check your stitch count and tension |
| Yarn running out early | Underestimating yarn requirements | Make a gauge swatch and calculate yardage |
| Loose yarn tails | Ends not secured properly | Weave tails through several stitches and change direction |
If you notice a mistake several rows back, you can usually pull out the stitches carefully until you reach the problem area. Place your hook back into the remaining loop and continue crocheting.
Don’t feel that you must undo every tiny imperfection. If your blanket is comfortable, secure, and close to the intended shape, small differences can add to its handmade character.
How Much Yarn Do You Need for a Beginner Crochet Blanket?
The amount of yarn depends on the blanket’s dimensions, stitch pattern, yarn thickness, hook size, and your tension.
As a rough planning estimate, a small baby blanket might use around 600–1,000 yards of medium-weight yarn, while a larger throw may require approximately 1,500–2,500 yards or more. These figures are estimates, not guaranteed amounts.
To plan your project more accurately:
- Check the yarn label for the yardage in each skein.
- Make a gauge swatch using your chosen stitch.
- Estimate the amount of yarn needed for your intended dimensions.
- Buy enough yarn from the same dye lot when possible.
- Keep any leftover yarn for repairs or matching accessories.
For a first crochet blanket, choosing a small or medium size helps control both the cost and the time commitment.
How Long Does It Take to Crochet a Blanket?
A small crochet blanket may take a few days to a couple of weeks, while a large throw can take several weeks or longer. Your experience, stitch choice, blanket size, and available crafting time all affect the total.
If you crochet for 30–60 minutes each evening, you can make steady progress without rushing. A simple single crochet blanket may take longer than a blanket made with taller stitches because each row contains more individual stitches.
Instead of focusing only on the finishing date, set a manageable goal, such as completing five rows each day. Small milestones make a large project feel easier to handle.
Frequently Asked Questions
1. What is the easiest crochet blanket for beginners?
A rectangular blanket made with single crochet or double crochet is one of the easiest choices. It uses a simple repeating pattern and requires little shaping. Choose smooth, medium-weight yarn in a light color so you can see your stitches clearly.
2. What size crochet hook should a beginner use for a blanket?
A 5 mm or 5.5 mm hook is a common starting point for medium-weight yarn. However, the correct size depends on the yarn label and your tension. Make a small swatch to see whether the fabric feels comfortable and has the drape you want.
3. Can I make a crochet blanket using only single crochet?
Yes. You can make an entire blanket using single crochet stitches. This creates a simple, sturdy fabric and allows you to practice consistent tension and straight edges without learning multiple stitch patterns.
4. How many chains do I need to start a crochet blanket?
The number depends on your intended width, yarn thickness, hook size, and gauge. First, make a test swatch and calculate how many stitches fit into one inch. Multiply that number by your desired blanket width to estimate the required starting stitches, following your pattern’s foundation-chain instructions.
5. Is crocheting a blanket difficult for beginners?
Crocheting a blanket is manageable for beginners when the pattern uses basic stitches and simple construction. The biggest challenges are maintaining consistent tension, counting stitches, and staying patient as the blanket grows. Starting with a smaller project makes the process easier.