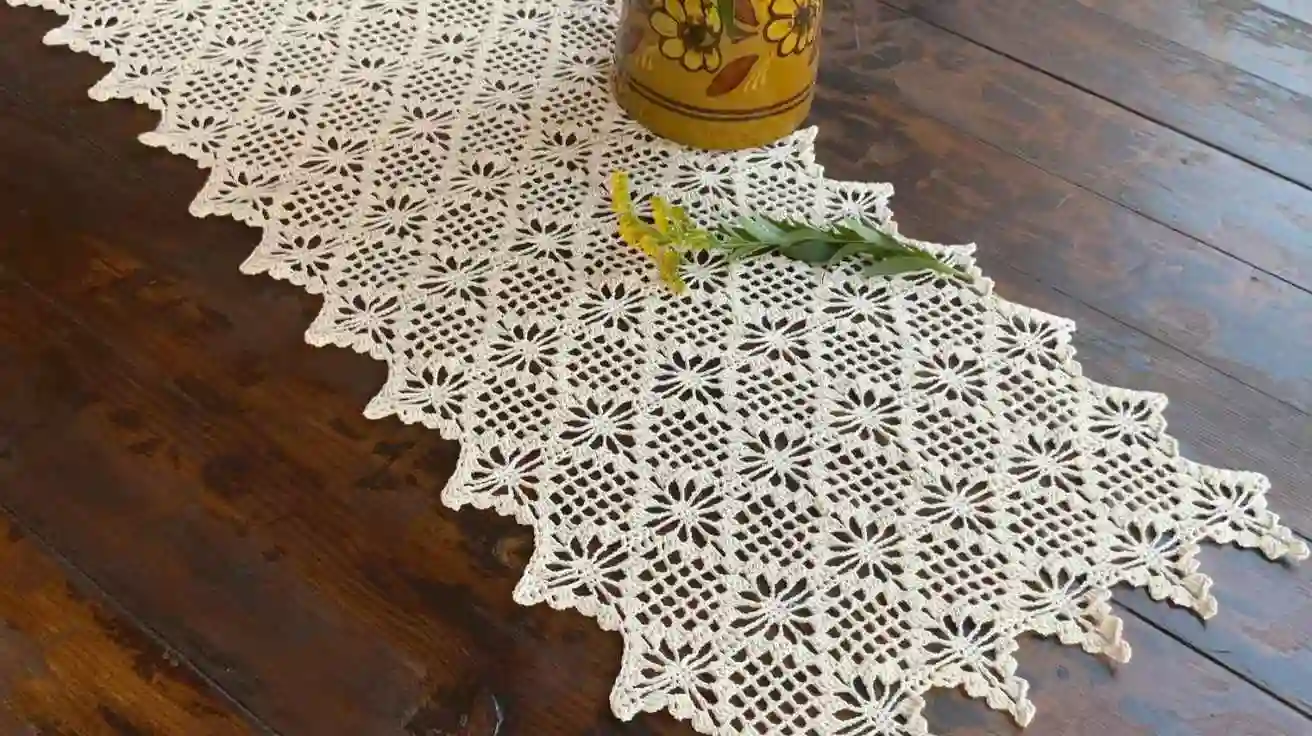
Crochet Table Runner Tutorial: Easy Step-by-Step Guide
A handmade table runner can completely change the look of a dining table without requiring a complicated crochet pattern. If you are searching for a crochet table runner tutorial that is beginner-friendly, practical, and easy to customize, you are in the right place.
In this guide, I’ll walk you through how to choose yarn and a crochet hook, measure your table, create the foundation chain, work the main pattern, add a simple border, and finish your runner neatly. You’ll also learn how to adjust the length and width for different tables.
Whether you want a farmhouse table runner, a modern crochet centerpiece, or a handmade gift, this project is a great way to practice basic crochet stitches while creating something useful for your home.
Crochet Table Runner Tutorial: What You Need
Before starting your crochet table runner, gather your supplies. You do not need a large collection of tools, which makes this an affordable project for beginners.
Materials
| Material | Suggested choice |
|---|---|
| Yarn | Cotton or cotton-blend yarn |
| Crochet hook | Size recommended on your yarn label |
| Scissors | Small, sharp scissors |
| Tapestry needle | For weaving in ends |
| Measuring tape | For checking dimensions |
| Stitch markers | Optional but helpful |
Cotton yarn is particularly useful for table runners because it is durable, washable, and holds its shape well. It also tends to give crochet home décor projects a crisp, finished appearance.
For a softer decorative runner, you can use a cotton blend. Avoid very fuzzy yarn if you are a beginner because it can make individual stitches harder to see.
How to Choose the Right Size for a Crochet Table Runner
The easiest way to determine your runner size is to measure your table before you begin.
For a traditional rectangular dining table, you can make the runner long enough to extend slightly beyond each end or keep it approximately the same length as the tabletop.
A simple starting point is:
- Small table: about 24–36 inches long
- Medium dining table: about 48–60 inches long
- Large dining table: about 60–72+ inches long
- Narrow runner: about 10–14 inches wide
- Wider decorative runner: about 14–18 inches wide
These measurements are flexible. The beauty of a handmade crochet table runner is that you can make it exactly for your table.
Should a table runner hang over the edges?
It can, but it does not have to.
For a more traditional appearance, allow approximately 6–12 inches of overhang at each short end. For a clean modern look, make the runner close to the tabletop length.
Choosing a Crochet Stitch for Your Table Runner
Your stitch choice has a major effect on the final appearance.
If you are new to crochet, stick with stitches that are easy to count and repeat. Single crochet, half double crochet, and double crochet can all work beautifully.
For a more decorative design, try a shell stitch, moss stitch, granny stitch, or simple openwork pattern.
Beginner-friendly crochet stitches
Some useful choices include:
- Single crochet
- Half double crochet
- Double crochet
- Moss stitch
- V-stitch
- Granny stitch
- Shell stitch
A useful tip is to choose a stitch pattern that does not curl excessively. A table runner needs to lie relatively flat, so consistent tension is more important than using an elaborate stitch.
Step-by-Step Crochet Table Runner Tutorial
Now let’s start the actual project.
For this beginner-friendly crochet table runner tutorial, I recommend using a simple repeated stitch pattern. It is easy to adjust and allows you to focus on maintaining even tension.
Step 1: Make a Foundation Chain
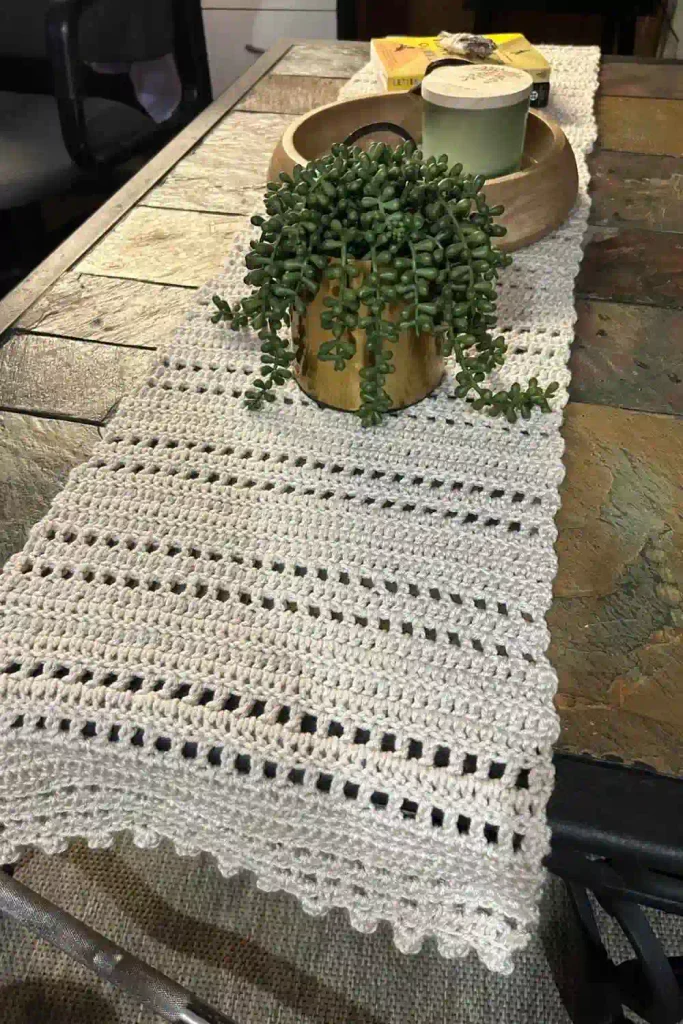
Start with a slip knot and create a foundation chain.
The number of chains depends on your desired runner width and the stitch repeat of your chosen pattern.
For example, if your stitch pattern works in multiples of four, your starting chain may need to be a multiple of four plus any turning chains required by the pattern.
Do not worry if your first chain feels uneven. Beginners often make their foundation chain tighter than the following rows.
Tip: Keep your chain loose enough that your hook can enter each stitch comfortably.
Step 2: Work the First Row
Insert your hook into the appropriate chain and begin your selected stitch.
For a simple design, you can work a row of double crochet stitches. Double crochet creates a relatively open fabric and allows the runner to grow quickly.
At the end of the row, count your stitches.
This is an important habit. If you lose or add a stitch early in the project, the edges may gradually become uneven.
Step 3: Continue the Repeating Pattern
Once the first row is complete, turn your work and begin the next row.
Repeat the stitch pattern across the entire width. Continue until your runner reaches the desired length.
For a long table runner, it can be tempting to crochet without checking your work. Instead, stop every few rows and make sure the edges are still straight.
Step 4: Check the Measurements
Place your crochet piece flat on a clean surface and measure it.
Do not stretch the fabric while measuring. Crochet can change size when pulled, so measure it in its natural relaxed position.
If the runner is slightly shorter than planned, simply add more rows.
How to Add a Crochet Border to a Table Runner
A border is optional, but it can make a handmade runner look much more polished.
A simple single crochet border is an excellent choice for beginners.
Simple border method
Work single crochet stitches evenly around the outside edge of the runner.
At each corner, work enough stitches to help the fabric turn without pulling.
If your corners curl inward, you may need additional stitches. If the corners become wavy, you may be adding too many.
For a more decorative finish, add a second round using a shell, picot, or scalloped edging.
How to Keep Your Crochet Table Runner Flat
One of the most common problems with crochet home décor is a runner that curls, waves, or refuses to lie flat.
The main causes are usually inconsistent tension, an unsuitable stitch pattern, or incorrect stitch counts.
Try these solutions:
- Count your stitches at the end of every row.
- Keep your tension consistent.
- Avoid making the foundation chain too tight.
- Check your gauge before starting a large project.
- Use blocking when appropriate.
- Make sure your border does not contain too many or too few stitches.
Blocking can be particularly helpful for lace-style crochet table runners because it can improve the shape and open up the stitch pattern.
How to Change the Size of Your Crochet Table Runner
One of the best features of a crochet table runner is how easy it is to customize.
To make the runner wider, increase the number of foundation chains according to the stitch repeat.
To make it longer, simply continue crocheting additional rows.
For example, if your pattern repeats across four stitches, adjust your starting chain using multiples of four rather than adding random stitches.
This keeps the design symmetrical.
A simple sizing formula
You can think of the project in two directions:
Width = foundation chain
Length = number of repeated rows
This makes rectangular crochet patterns especially beginner-friendly.
Best Yarn for a Crochet Table Runner
Cotton is usually a practical choice for a table runner because it is sturdy and relatively easy to wash.
Choose a yarn weight that matches the appearance you want.
Cotton yarn
Best for everyday table décor and washable runners.
Cotton blend
Useful when you want a softer or slightly different drape.
Acrylic yarn
Can work for decorative runners, although cotton is often more suitable for pieces that may need frequent washing.
Thicker yarn
Creates a bold, textured runner and can make a project work up faster.
Thin yarn
Creates a delicate, lace-like appearance but usually requires more time and careful stitch work.
How to Add Color to Your Crochet Table Runner
You do not have to make your runner in one color.
Try alternating two shades every few rows. Neutral colors such as cream, beige, gray, or white create a subtle home décor piece, while contrasting colors can make the runner a focal point.
You can also create a striped design by changing colors at regular intervals.
For a farmhouse-inspired look, consider natural neutrals. For a modern dining room, try two contrasting shades.
Crochet Table Runner Design Ideas
Once you understand the basic construction, you can experiment with different styles.
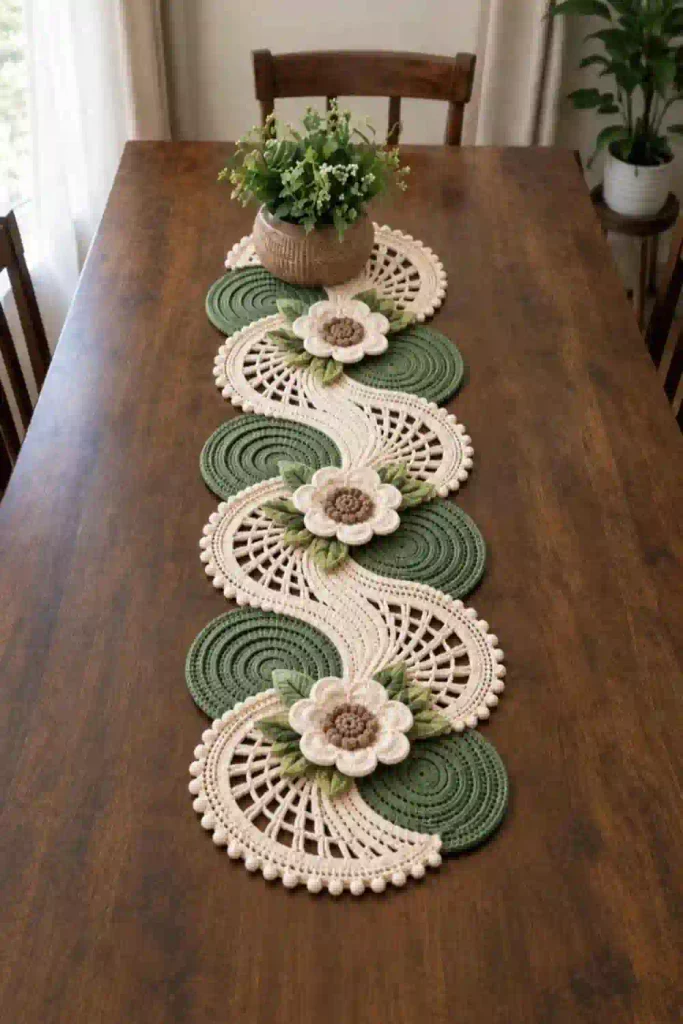
Farmhouse crochet table runner
Use cream, beige, taupe, or natural cotton yarn with a simple textured stitch.
Modern crochet table runner
Choose a geometric stitch pattern and a limited color palette.
Lace crochet table runner
Use lightweight yarn and an open stitch pattern for an elegant centerpiece.
Granny stitch table runner
Granny-style stitches create a classic handmade appearance and are easy to customize with multiple colors.
Rustic crochet table runner
Natural yarn colors and textured stitches work especially well with wooden dining tables.
How to Finish a Crochet Table Runner
When you reach the desired length, fasten off your yarn and leave a small tail.
Use a tapestry needle to weave the loose end through several stitches on the wrong side of your work. Trim the remaining yarn carefully.
Do the same with your starting tail.
If you added a border, inspect the entire edge for loose loops or uneven corners before finishing.
For the neatest result, wash and block the runner according to the yarn manufacturer’s care instructions.
A Simple Trick for Straighter Crochet Edges
Here is one useful technique that can save beginners a lot of frustration: count the stitches at the end of every row rather than waiting until the project looks uneven.
If your stitch count remains consistent, your edges are much more likely to stay straight.
You can also place a stitch marker in the first or last stitch of each row. This makes it easier to identify the correct stitch, especially when working into turning chains.
This small habit is often more valuable than choosing a complicated pattern.
Can Beginners Make a Crochet Table Runner?
Yes. A crochet table runner can be an excellent beginner project because its basic shape is usually rectangular and it can be made with simple repeating stitches.
Start with a straightforward stitch pattern rather than lace or highly textured designs. Once you become comfortable with stitch counting and turning rows, you can experiment with more decorative patterns.
The project also gives beginners practical experience with foundation chains, row counting, tension, borders, color changes, and finishing.
How Long Does It Take to Crochet a Table Runner?
The time depends on the runner’s size, yarn weight, stitch complexity, and your crochet speed.
A small runner using a simple stitch can be completed relatively quickly. A long lace runner with fine yarn can take considerably longer.
Instead of focusing only on the clock, work in manageable sessions. Even 20–30 minutes at a time can gradually turn a ball of yarn into a finished home décor piece.
FAQ
What is the best stitch for a crochet table runner?
Simple stitches such as single crochet, half double crochet, double crochet, moss stitch, and granny stitch are good choices. Beginners may prefer a repetitive stitch pattern because it makes counting and correcting mistakes easier.
How many chains do I need for a crochet table runner?
The number of chains depends on the desired width and the stitch repeat. Measure your table first, then adjust your foundation chain according to the requirements of your chosen pattern.
What is the best yarn for a crochet table runner?
Cotton yarn is a popular choice because it is durable, washable, and suitable for home décor. Cotton blends can also work well depending on the desired texture and drape.
Should I block a crochet table runner?
Blocking can be helpful, especially for lace or openwork runners. It can improve the shape, straighten edges, and make stitch patterns more defined.
How do I stop my crochet table runner from curling?
Check your stitch count, maintain consistent tension, avoid making the foundation chain too tight, and consider blocking the finished piece. A border can also help stabilize the edges.