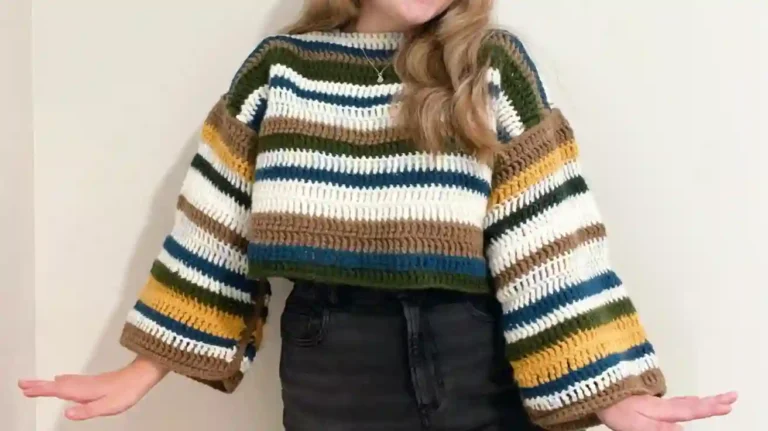
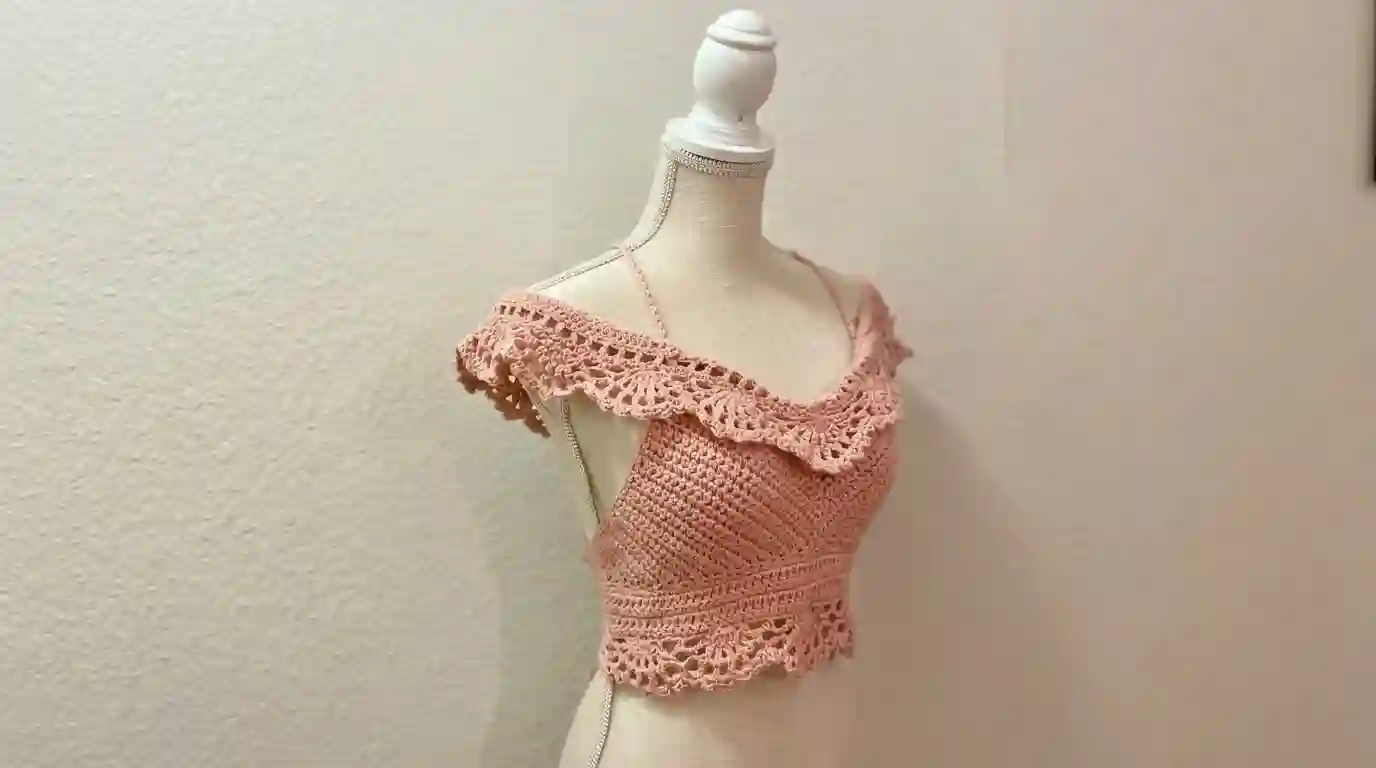
Crochet Top Tutorial Step by Step for Beginners
There’s something special about wearing a piece of clothing you made with your own hands. If you love handmade fashion, this crochet top tutorial step by step will help you create a beautiful top that suits your style, even if you are still learning the basics of crochet.
You don’t need advanced skills or expensive supplies to get started. With soft cotton yarn, a crochet hook, and a little patience, you can make a lightweight top for warm days, beach trips, holidays, or casual outings.
In this guide, you’ll learn how to choose the right materials, measure your body, crochet the front and back panels, shape a flattering neckline, add straps, and finish your top neatly. You’ll also discover simple ways to adjust the fit, choose colors, and make your design unique.
The pattern uses basic stitches and separate panels, making it easier to follow than a complicated garment worked in one piece.
What Is a Crochet Top?
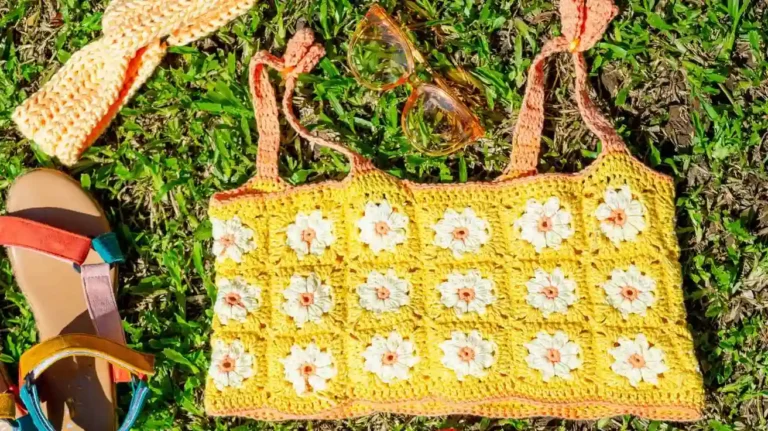
A crochet top is a handmade garment created by joining yarn stitches with a crochet hook. It can be a fitted crop top, a loose summer shirt, a tank top, a halter neck, or a decorative lace top.
Crochet tops are popular because you can customize their length, color, neckline, and fit. Beginners often find simple panel-based designs easier to manage because they can work on one section at a time.
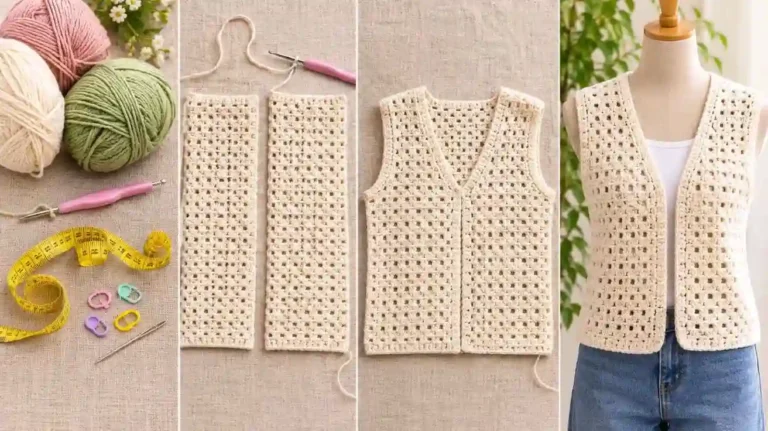
For this project, you’ll make a simple sleeveless top with two front sections, two back sections, shoulder straps, and optional back ties. You can keep the design short like a crop top or add more rows for extra coverage.
Materials You Need for This Crochet Top Tutorial Step by Step
Before starting your crochet top tutorial step by step, gather your supplies. Having everything ready will make the project easier and help you avoid interruptions.

Essential crochet supplies
- Yarn: Approximately 250–350 yards of worsted-weight cotton or cotton-blend yarn for a small or medium sample design. Larger sizes and longer tops may require more.
- Crochet hook: Start with a 4.0 mm or 5.0 mm hook, following the yarn label and your gauge.
- Scissors: Use sharp scissors to cut the yarn cleanly.
- Yarn needle: A blunt tapestry needle helps join panels and weave in loose ends.
- Measuring tape: Measure your bust and desired top length.
- Stitch markers: These help mark edges, strap positions, and shaping points.
Cotton yarn is a good choice for summer tops because it is breathable and holds its shape well. A soft cotton blend can also work if you want a lighter drape.
Crochet abbreviations
This tutorial uses US crochet terminology.
| Abbreviation | Meaning |
|---|---|
| ch | Chain |
| sc | Single crochet |
| hdc | Half double crochet |
| dc | Double crochet |
| sl st | Slip stitch |
| st(s) | Stitch(es) |
| rep | Repeat |
| dec | Decrease |
If you’re new to crochet, practice the chain and single crochet first. Even stitches make a big difference in how your finished top looks.
Choose Your Size Before You Begin
A handmade top should feel comfortable, not tight or restrictive. Taking a few measurements before crocheting will help you create a better fit. Measure around the fullest part of your bust while keeping the tape level. Then measure from the top of your chest to the length you want the top to reach.
Use these measurements to plan your starting chain and the number of rows.
| Measurement | What it helps determine |
|---|---|
| Full bust | Overall garment width |
| Underbust | Fit around the lower edge |
| Shoulder-to-bust | Placement of the neckline |
| Desired top length | Number of rows |
| Shoulder strap length | Strap placement and comfort |
Beginner tip: Crochet a small swatch first, around 10 × 10 cm (4 × 4 inches). Measure how many stitches and rows fit within that area. Your gauge is more useful than copying someone else’s starting-chain count because yarn, hooks, and tension vary.
Crochet Top Tutorial Step by Step
This beginner-friendly pattern creates a simple sleeveless top using separate panels. The measurements and stitch counts below are a starting point, not a universal size chart. Adjust them to your gauge and body measurements.

Step 1: Make the Foundation Chain

Start by making a slip knot and placing it on your crochet hook. Chain enough stitches to create a panel that covers approximately half the width of your front, depending on your chosen construction.
For a small practice panel, you might begin with 20–25 chains. For a wearable top, use your gauge swatch and measurements to calculate the correct starting chain.
- Make a slip knot.
- Yarn over and pull the yarn through the loop to create each chain.
- Keep your chain relaxed rather than pulling it too tightly.
- Lay it flat and check that it is not twisted.
The foundation chain forms the bottom edge of your panel. If it is too tight, the finished top may pull upward or feel restrictive.
Step 2: Crochet the First Front Panel

Once your foundation chain is ready, work single crochet stitches across it. Insert the hook into the second chain from the hook, yarn over, and pull up a loop. Yarn over again and pull through both loops. Repeat across the row.
At the end of the row, chain one and turn. Continue working single crochet stitches into each stitch across.
Repeat until the panel reaches the height you want for the lower part of your top. For many designs, this is the section that covers the bust before the neckline shaping begins.
Important: Count your stitches at the end of each row. Adding or losing stitches can make the panel wider or narrower as you work.
Step 3: Shape the V-Neck

To create a V-neck, divide the upper section into two sides and shape them separately. This creates the opening between the two sides of the neckline.
- Identify the center point of your front panel.
- Mark the center with a stitch marker.
- Work each side separately as you approach the neckline.
- Decrease one or more stitches near the neckline edge when needed.
- Continue until the shoulder area reaches your desired height.
For a simple decrease, you can work two stitches together. The exact decrease method depends on the stitch you use.
Try the panel against your body or compare it with a top that fits well. A deeper V-neck needs more shaping rows, while a shallow neckline needs less.
Step 4: Make the Second Front Section

If your design uses two separate front sections, make the second section to match the first. Keep the stitch pattern, width, and height as consistent as possible.
Place both sections side by side to compare their shape. If one is visibly wider or taller, adjust it before joining the pieces.
You can also make a single rectangular front panel and create a neckline by shaping the top edges. This alternative may be easier if you prefer a less structured design.
Step 5: Crochet the Back Panels

The back of your top can be simpler than the front. For a beginner design, make two back sections that match the front panels in width and height, or create one wider panel if your construction calls for it.
Work in the same stitch pattern to keep the texture consistent. If you want a more open summer look, try a simple mesh pattern after practicing it on a swatch.
Before moving on, compare the front and back pieces. They should fit together without stretching or bunching.
Step 6: Create the Shoulder Straps

Straps keep your top in place and add a finishing detail. You can make simple crochet straps using chains and slip stitches, or use a narrow strip of single crochet.
To make a basic strap:
- Attach yarn at the top of the front section.
- Chain until the strap reaches the desired length.
- Try the length against your shoulder or measure it against a well-fitting top.
- Add a row of single crochet stitches along the chain if you want a thicker strap.
- Fasten off, leaving a tail long enough to sew the strap securely.
Make the second strap the same length. Remember that straps can stretch with wear, especially when made with cotton yarn, so test the fit before securing them permanently.
Step 7: Join the Front and Back Pieces

Lay the panels flat with the sides you want facing outward in the correct position. Align the shoulder edges and side seams.
Use a yarn needle to sew the pieces together, or use slip stitches if you prefer a crocheted seam. Join the shoulder edges first, then work down the sides.
Leave enough room for your arms. To do this, try the top on before completing the side seams or use a well-fitting sleeveless top as a guide.
Keep your seams even but not overly tight. Tight seams can make the fabric pucker and reduce the garment’s flexibility.
Step 8: Add Optional Back Ties
If you want an adjustable fit, add ties to the back. These can be useful for a lace-up design and make the top look more decorative.
Make two chains or narrow crochet cords. Attach them securely to the back edges at matching heights, then thread or tie them together.
Check that the ties are strong enough to withstand gentle pulling. If the top is fitted, avoid relying on a single loosely attached cord to hold the entire garment in place.
For a simpler look, skip the ties and sew the back pieces together instead.
Step 9: Finish the Edges and Weave in Ends

Finishing is what makes a handmade top look polished. Check the neckline, armholes, bottom edge, and seams for loose loops or uneven stitches. Work a row of single crochet around the edges if you want a neat border. You can also use slip stitches for a more subtle finish.
Use a yarn needle to weave each yarn tail through several stitches on the wrong side. Trim the excess yarn only after the tail is secure.
If the fabric looks uneven, gently block it according to the yarn care instructions. Avoid excessive heat or stretching, which can distort the shape.
Step 10: Try On Your Finished Crochet Top

Try on your top and check how it sits across the bust, shoulders, and waist. Raise your arms gently and move around to see whether the straps stay in place.
Look for gaps around the neckline, tight side seams, or a bottom edge that rides up. You can make small adjustments by shortening straps, adding a few rows, or changing the side seam.
Pair your finished top with jeans, a skirt, linen trousers, or shorts. A neutral yarn creates a classic look, while bright colors can make the same pattern feel playful and modern.
How to Customize Your Crochet Top
One of the best things about making your own clothes is choosing the details. Once you understand the basic construction, small changes can give you a completely different look.


Choose a different neckline
Try a square neckline for a modern look, a V-neck for a classic shape, or a halter style for a more open shoulder design. The neckline changes the top’s appearance without requiring a completely different stitch pattern.
Change the length
Add rows to create a longer tank top or stop earlier for a crop top. Measure the garment as you work rather than relying only on row counts.
Experiment with colors
Cream, beige, and white create a timeless look. Pastel shades feel soft and playful, while stripes and color blocks make a top more eye-catching.
Try different stitches
Single crochet creates a firm fabric, while double crochet produces a taller stitch and a more open texture. Mesh stitches can make a breathable summer top, but use a suitable lining if the fabric is too sheer for your comfort.
Common Mistakes to Avoid
A few simple checks can save you time and help your top fit better.
- Skipping the gauge swatch: Your panel may turn out too large or too small.
- Using a tight foundation chain: The bottom edge can pull in and distort the fabric.
- Forgetting to count stitches: Uneven panel widths make joining difficult.
- Making straps without testing the fit: Straps that are too long may slip off your shoulders.
- Joining pieces before checking measurements: Try the pieces against your body or a similar garment first.
- Cutting yarn tails too early: Secure the ends before trimming them.
A useful technique is to keep a small project note with your hook size, yarn type, stitch count, and measurements. If you need to remake one panel, these notes help you reproduce the same size.
A Helpful Sizing Trick for a Better Fit
Instead of choosing your size based only on a standard small, medium, or large label, compare the finished garment measurements with your own body measurements.
For a close-fitting top, you may prefer little or no extra width. For a relaxed top, add some ease. The right amount depends on your stitch pattern, yarn, and personal comfort.
For example, if your bust measures 36 inches and you want a relaxed top with 2 inches of extra room, aim for a finished bust measurement of approximately 38 inches. Divide that width between the front and back according to your pattern construction.
This measurement-first approach is often more reliable than following a fixed chain count. It also makes it easier to adjust the pattern for different body shapes.
Caring for Your Handmade Crochet Top
Good care helps your crochet top keep its shape and texture.
- Wash gently: Follow the yarn label. Hand washing in cool water is a good option for many cotton crochet garments.
- Avoid twisting: Press out excess water gently instead of wringing the fabric.
- Dry flat: Lay the top on a clean towel and reshape it while damp.
- Store carefully: Fold the garment rather than hanging it for long periods, especially if the yarn stretches easily.
- Check the seams: Inspect straps and joins occasionally, particularly after repeated washing.
Always test your yarn’s care instructions before washing the finished garment.
5 Crochet Top Styles to Try Next
Once you finish this crochet top tutorial step by step, you can use the same basic skills to explore other designs.
1. Square-Neck Crochet Top

A simple neckline and clean straps create a versatile style that pairs well with jeans or skirts.
2. Boho Halter Top

Try a halter neckline with a tie at the back for a relaxed, festival-inspired look.
3. Ribbed Crochet Tank Top

Textured stitches add interest and can create a fabric with a little more flexibility.
4. Crochet Lace Top

Openwork stitches create a light, airy design for layering over a camisole.
5. Striped Crochet Crop Top

Use leftover yarn in complementary colors to make a playful, one-of-a-kind garment.
Frequently Asked Questions
1. Is a crochet top easy for beginners?
Yes. A simple crochet top made from separate panels is a good beginner project. Start with basic stitches such as chain and single crochet, check your stitch count regularly, and practice joining pieces before working on the full garment.
2. How much yarn do I need to crochet a top?
A small or medium sleeveless top may require approximately 250–350 yards of yarn, depending on its length, stitch pattern, yarn weight, and fit. Larger or more detailed tops may need considerably more. Check your gauge and purchase extra yarn from the same dye lot when possible.
3. What is the best yarn for a crochet summer top?
Cotton and cotton-blend yarns are popular choices because they are breathable and comfortable against the skin. Lightweight yarn can create a softer drape, while heavier yarn may produce a thicker fabric. Choose yarn that feels comfortable and suits your intended design.
4. How do I make my crochet top fit properly?
Measure your bust and desired length before starting. Make a gauge swatch, calculate the panel width from your measurements, and check the fit before joining the pieces permanently. Adjust the starting chain, number of rows, and strap length as needed.
5. How long does it take to crochet a top?
A simple beginner top may take several evenings or a few days of crocheting, depending on your speed, available time, and pattern complexity. A basic design with fewer decorative details usually takes less time than a lace top with intricate shaping.